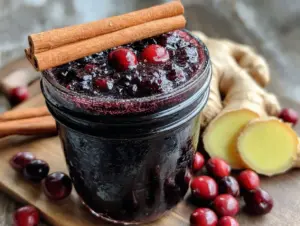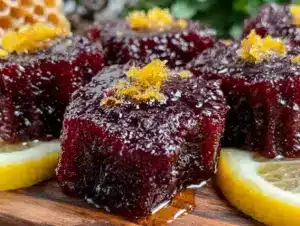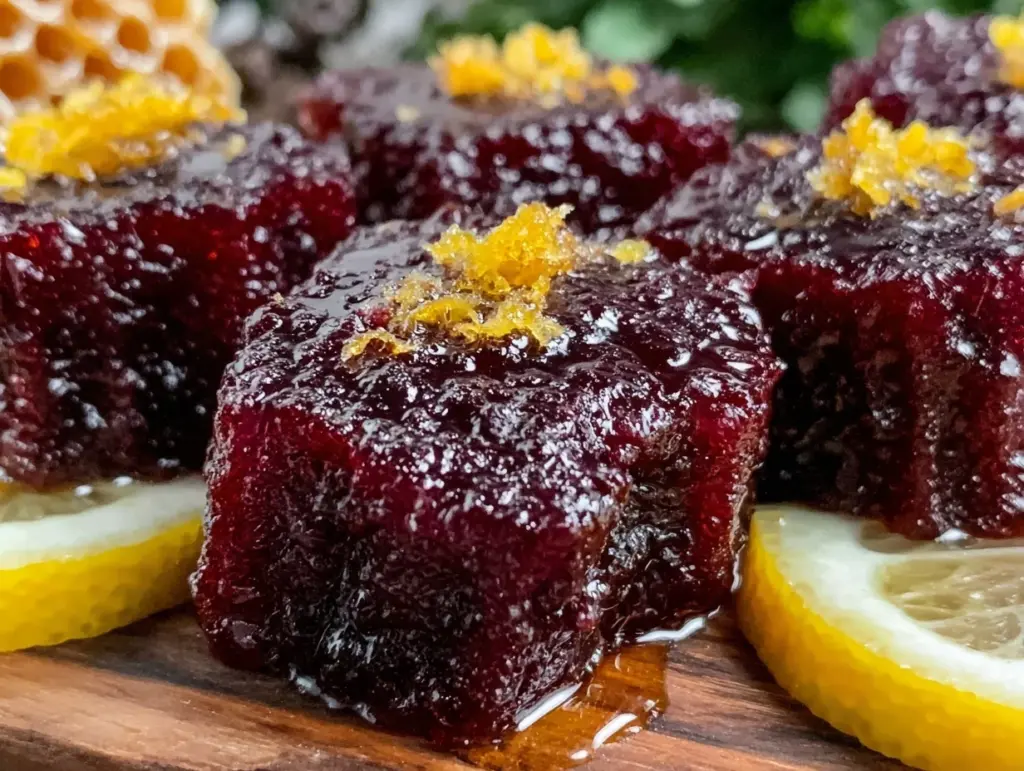
For a while, I just accepted that homemade elderberry treats weren’t going to taste like something my kids would actually ask for—much less enjoy. I mean, elderberries have that reputation for being healthy but a little bitter, and the last thing I wanted was to force something “good for them” that they’d spit out. I remember one afternoon, stirring a pot of elderberry syrup on the stove, wondering if there was a way to turn those tangy little berries into something that felt like a treat instead of medicine. The kitchen smelled faintly of lemon and honey, and my youngest was eyeing the counter with skepticism. That moment was quietly frustrating because I knew elderberries were packed with benefits, but the flavor just didn’t click with my kids.
It wasn’t about finding a flashy cure-all, just a simple snack that could sneak in those powerful antioxidants without a fight. After a few tries, some experimenting with honey amounts, and adding a splash of lemon for brightness, the recipe for easy elderberry gummies with honey & lemon came around—not as a victory, but as a solution that stuck. These gummies aren’t just sweet little bites; they became the quiet peace of mind I needed on cold mornings and hectic afternoons. They’re kid-approved, which for me means they get eaten without a fuss and even requested again.
Honestly, this recipe stayed with me because it’s straightforward, reliable, and it blends the warmth of honey with the zing of lemon so naturally. It’s not trying to be anything fancy, just a small, tasty way to include elderberries in our routine. And that’s what makes it quietly satisfying every single time.
Why You’ll Love This Recipe
After testing this easy elderberry gummies recipe several times, I can say it’s a keeper for families looking to bring a little natural goodness into snack time without the usual battles. Here’s what makes it stand out:
- Quick & Easy: You can have these gummies ready in under 30 minutes, which is perfect when you’re juggling a busy household or need a last-minute healthy treat.
- Simple Ingredients: No need for specialty stores—honey, lemon, elderberry syrup, and gelatin are probably already in your pantry or easy to find nearby.
- Perfect for Kids: These gummies have a sweet-tart flavor that’s gentle enough for little taste buds but still interesting enough so they don’t get bored.
- Crowd-Pleaser: They’re not just for kids—grown-ups tend to grab a few, too. They’re a nice balance of health and taste.
- Unbelievably Delicious: The honey rounds out the slight tartness of elderberries, while lemon adds a fresh lift that makes every bite pop.
This recipe isn’t just another gummy out there. The trick is in using a trusted elderberry syrup (I lean toward organic, small-batch brands) and adding a splash of freshly squeezed lemon juice for brightness. Plus, blending the syrup with honey before setting helps with a smooth texture that doesn’t feel rubbery or chalky. It’s a little thing that makes a big difference.
And the best part? These gummies offer a subtle comfort, the kind that feels like a gentle hug on a chilly day. They’re a low-fuss way to keep wellness close, especially when you’re looking for easy, everyday options. If you’ve tried making elderberry treats before and found them too bitter or complicated, this recipe might just change your mind.
What Ingredients You Will Need
This recipe uses simple, wholesome ingredients to deliver bold flavor and satisfying texture without any fuss. The ingredients are mostly pantry staples, and substitutions are easy if you need them.
- Elderberry syrup (about 1/2 cup or 120 ml) – Choose a quality elderberry syrup; I recommend brands that use organic elderberries and minimal sweeteners for best flavor and potency.
- Honey (1/4 cup or 60 ml) – Raw or local honey works best for natural sweetness and added health benefits.
- Fresh lemon juice (2 tablespoons or 30 ml) – Adds a fresh, zesty note that balances the syrup’s richness.
- Unflavored gelatin powder (3 tablespoons or about 30 grams) – This sets the gummies perfectly. Look for a good-quality gelatin like Great Lakes or Vital Proteins.
- Cold water (1/2 cup or 120 ml) – To bloom the gelatin before combining everything.
- Optional: a pinch of sea salt – Just a little to enhance the flavors overall.
If you want to make these gummies vegan or vegetarian, you can swap the gelatin for agar-agar powder, but note that the texture will be a bit different (a little firmer and less chewy). For a sugar-free version, replace honey with a natural sweetener like monk fruit syrup, though it might change the flavor slightly.
Equipment Needed
- Mixing bowls: A medium bowl to bloom the gelatin and a larger one to mix ingredients.
- Measuring cups and spoons: Accurate measurements are key to getting the right gummy texture.
- Whisk or spoon: For stirring the mixture smoothly.
- Silicone gummy molds or small silicone baking molds: These make the gummies fun and easy to pop out. Alternatively, a small baking pan lined with parchment paper works too.
- Microwave-safe bowl or small saucepan: To gently warm the elderberry syrup, honey, and lemon mixture.
Personally, I’ve found silicone molds are worth the investment for recipes like this, since they make cleanup a breeze and the gummies come out perfectly shaped. If you don’t have molds, you can pour the mixture into a shallow pan and cut into squares once set. Just keep in mind, the edges might be a little firmer.
Preparation Method
- Bloom the gelatin: Pour 1/2 cup (120 ml) cold water into a medium mixing bowl, then sprinkle 3 tablespoons (30 g) of unflavored gelatin evenly over the surface. Let it sit for 5 minutes to absorb the water and swell. This step is crucial to avoid clumps later.
- Warm the elderberry syrup mixture: In a small saucepan or microwave-safe bowl, combine 1/2 cup (120 ml) elderberry syrup, 1/4 cup (60 ml) honey, and 2 tablespoons (30 ml) fresh lemon juice. Warm gently over low heat or in 30-second microwave bursts until the honey dissolves completely and the mixture is warm but not boiling (around 110°F or 43°C). This helps the gelatin dissolve smoothly.
- Mix gelatin with syrup base: Pour the warm elderberry-honey-lemon mixture over the bloomed gelatin. Whisk immediately and briskly until the gelatin dissolves entirely and the mixture is smooth. This should take about 2-3 minutes. If you see any lumps, keep stirring; they usually break down with continued whisking.
- Optional: add a pinch of sea salt to enhance the flavor profile. Stir it in gently.
- Pour into molds: Carefully spoon or pour the mixture into silicone gummy molds. Work quickly before the gelatin starts setting. If using a pan, pour evenly and smooth the top with a spatula.
- Chill to set: Place the molds or pan in the refrigerator for at least 2 hours, or until the gummies are firm to the touch and hold their shape.
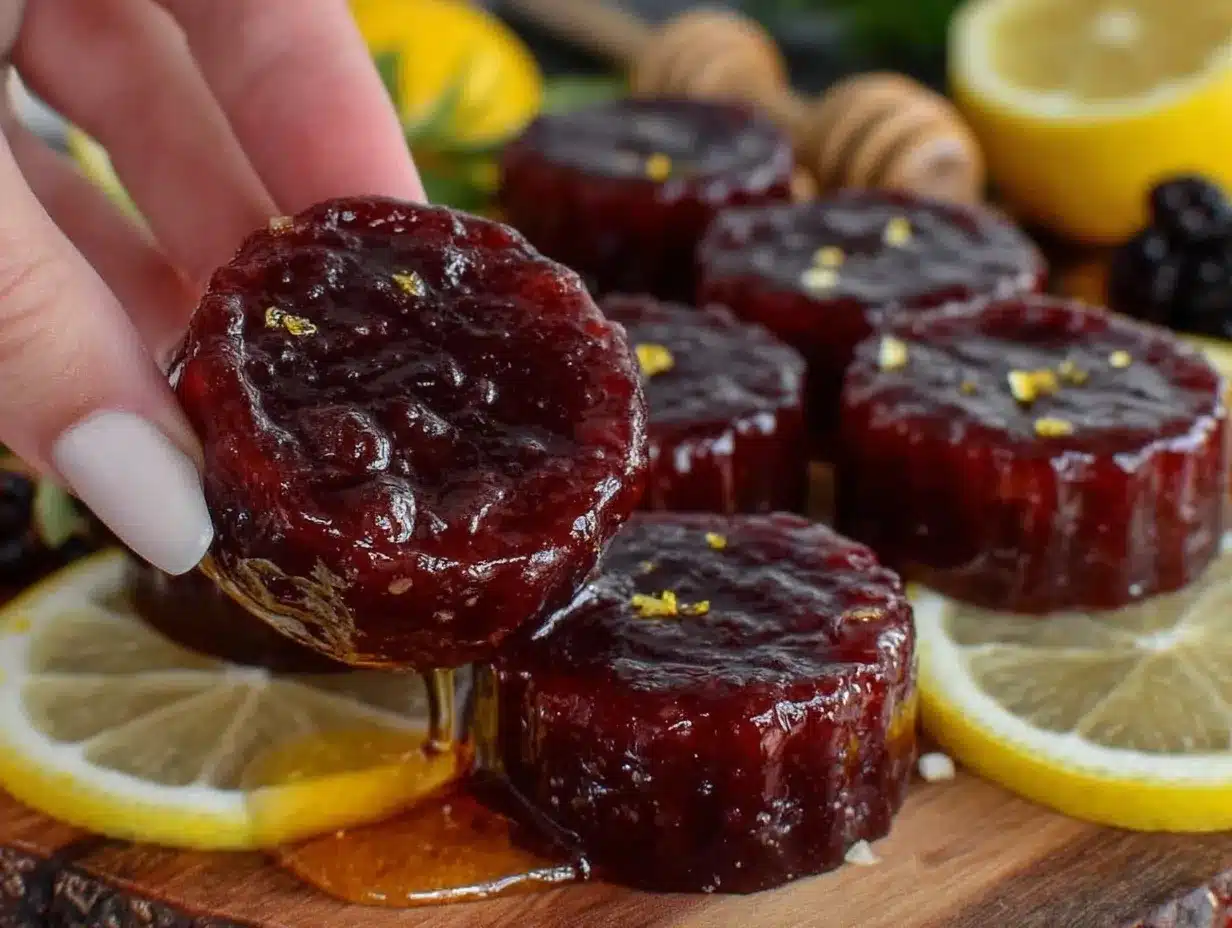
- Remove and store: Pop the gummies out of the molds or cut them into squares if using a pan. Store them in an airtight container in the fridge for up to 2 weeks.
Pro tip: If your gummies come out too soft, you can increase the gelatin by 1/2 tablespoon next time. Too firm? Cut back just a bit. It’s a little trial and error at first, but you’ll get the perfect texture for your family.
Cooking Tips & Techniques
One thing I learned the hard way is that gelatin hates boiling temperatures—heat it too much and it loses its setting power. So, warming the syrup mixture gently is key. Also, blooming the gelatin in cold water first gives it that smooth, jelly-like consistency without clumps. Whisking fast when combining the warm liquid and gelatin helps everything blend evenly.
Another tip: don’t rush the chilling process. The gummies need at least two hours in the fridge to fully firm up. Patience pays off here—you’ll get that satisfying chew instead of a sticky mess.
When storing, keep the gummies refrigerated to maintain their shape and freshness. If you live in a warm climate, skipping the molds and storing them in a sealed container can prevent them from melting or sticking together.
Oh, and if you want to get fancy, dusting the finished gummies lightly with powdered sugar or cornstarch can reduce stickiness, but honestly, I usually skip this step because my kids gobble them before they get sticky.
Variations & Adaptations
These elderberry gummies are versatile and easy to tweak depending on your family’s needs and taste buds.
- Vegan option: Substitute gelatin with agar-agar powder (about 2 teaspoons). Heat the mixture until agar dissolves completely, then pour into molds. The texture will be slightly more firm and less chewy.
- Flavor twist: Add a splash of orange juice for a citrus blend or a teaspoon of vanilla extract for warmth.
- Kids’ favorites: Mix in a little pureed strawberry or raspberry for a fruity combo that’s colorful and fun.
- Less sweet: Reduce the honey to 2 tablespoons and add a bit more lemon juice for a tangier gummy that’s still palatable.
- Boosted immunity: Stir in a pinch of ground ginger or cinnamon powder to the syrup mixture before setting for an extra warming touch.
One variation I tried was using a splash of elderflower syrup along with elderberry, making the flavor more floral and delicate. The kids loved it, and it felt a little more grown-up without losing that kid-friendly sweetness.
Serving & Storage Suggestions
Serve these elderberry gummies chilled straight from the fridge as a sweet snack or a little immunity boost during cold and flu season. They’re perfectly portable for lunchboxes or after-school nibbling.
Pair them with a warm cup of herbal tea for a cozy afternoon or alongside a fresh fruit salad for a light dessert. They also make a fun addition to a snack platter with nuts and cheese for a wholesome mix of flavors and textures.
Store the gummies in an airtight container in the fridge for up to two weeks. If you want to keep them longer, you can freeze them in a single layer on parchment paper, then transfer to a freezer-safe bag. When ready to eat, thaw in the fridge for a few hours.
Over time, the flavors mellow and meld, making the lemon and honey notes a little softer but still delicious. Just keep an eye on their texture—if they start to dry out, a quick toss in powdered sugar or a fresh batch might be the way to go.
Nutritional Information & Benefits
Each gummy is a small package of antioxidants and natural goodness. Elderberries are rich in vitamin C, flavonoids, and anthocyanins, which support the immune system and may reduce inflammation. Honey adds natural antibacterial properties, while lemon juice offers a dose of vitamin C and a bright, refreshing flavor.
These gummies are gluten-free and can be made dairy-free, making them a fitting choice for various dietary needs. Just watch for allergies to gelatin or honey in small children.
From a wellness point of view, these gummies are a sweet way to encourage kids to enjoy elderberries without overwhelming their taste buds. They provide a little daily boost without the sugar overload found in many commercial gummy supplements.
Conclusion
This easy elderberry gummies recipe with honey and lemon is a practical and tasty way to add a little extra care to your family’s routine. It’s not complicated, it doesn’t require weird ingredients, and it actually tastes good enough that kids ask for more. The balance of sweet and tart feels natural, not forced, and the chewy texture makes it feel like a treat rather than a chore.
Feel free to adjust the sweetness or lemon zing to match your family’s preferences—the recipe is forgiving and flexible. Personally, I love that these gummies make it easy to offer elderberries in a way that fits into real life, especially after busy days filled with dinners like creamy chicken Alfredo pasta or quick meals like garlic butter chicken with green beans.
I’d love to hear how your version turns out or if you’ve found new flavor combos. Share your tweaks and experiences in the comments below—it’s always nice to know these little recipes find a home in other kitchens, too.
Frequently Asked Questions
Can I use store-bought elderberry syrup for this recipe?
Yes, store-bought elderberry syrup works well as long as it’s high quality and not overly sweetened. Organic, raw syrups tend to give the best flavor and health benefits.
How long do the elderberry gummies last?
They keep fresh in the refrigerator for up to two weeks when stored in an airtight container. You can also freeze them for longer storage.
Can I make these gummies without gelatin?
You can use agar-agar powder as a vegan substitute, but expect a firmer, less chewy texture. The setting process is slightly different, requiring boiling the agar mixture.
Are these gummies safe for toddlers?
Generally, yes, but check for any allergies to honey or gelatin first. Also, cut them into small pieces for younger children to avoid choking hazards.
Can I add other flavors to the gummies?
Absolutely! Vanilla, ginger, or even berry purees can be added to customize the flavor. Just adjust the liquid amounts slightly to keep the right gummy consistency.
Pin This Recipe!
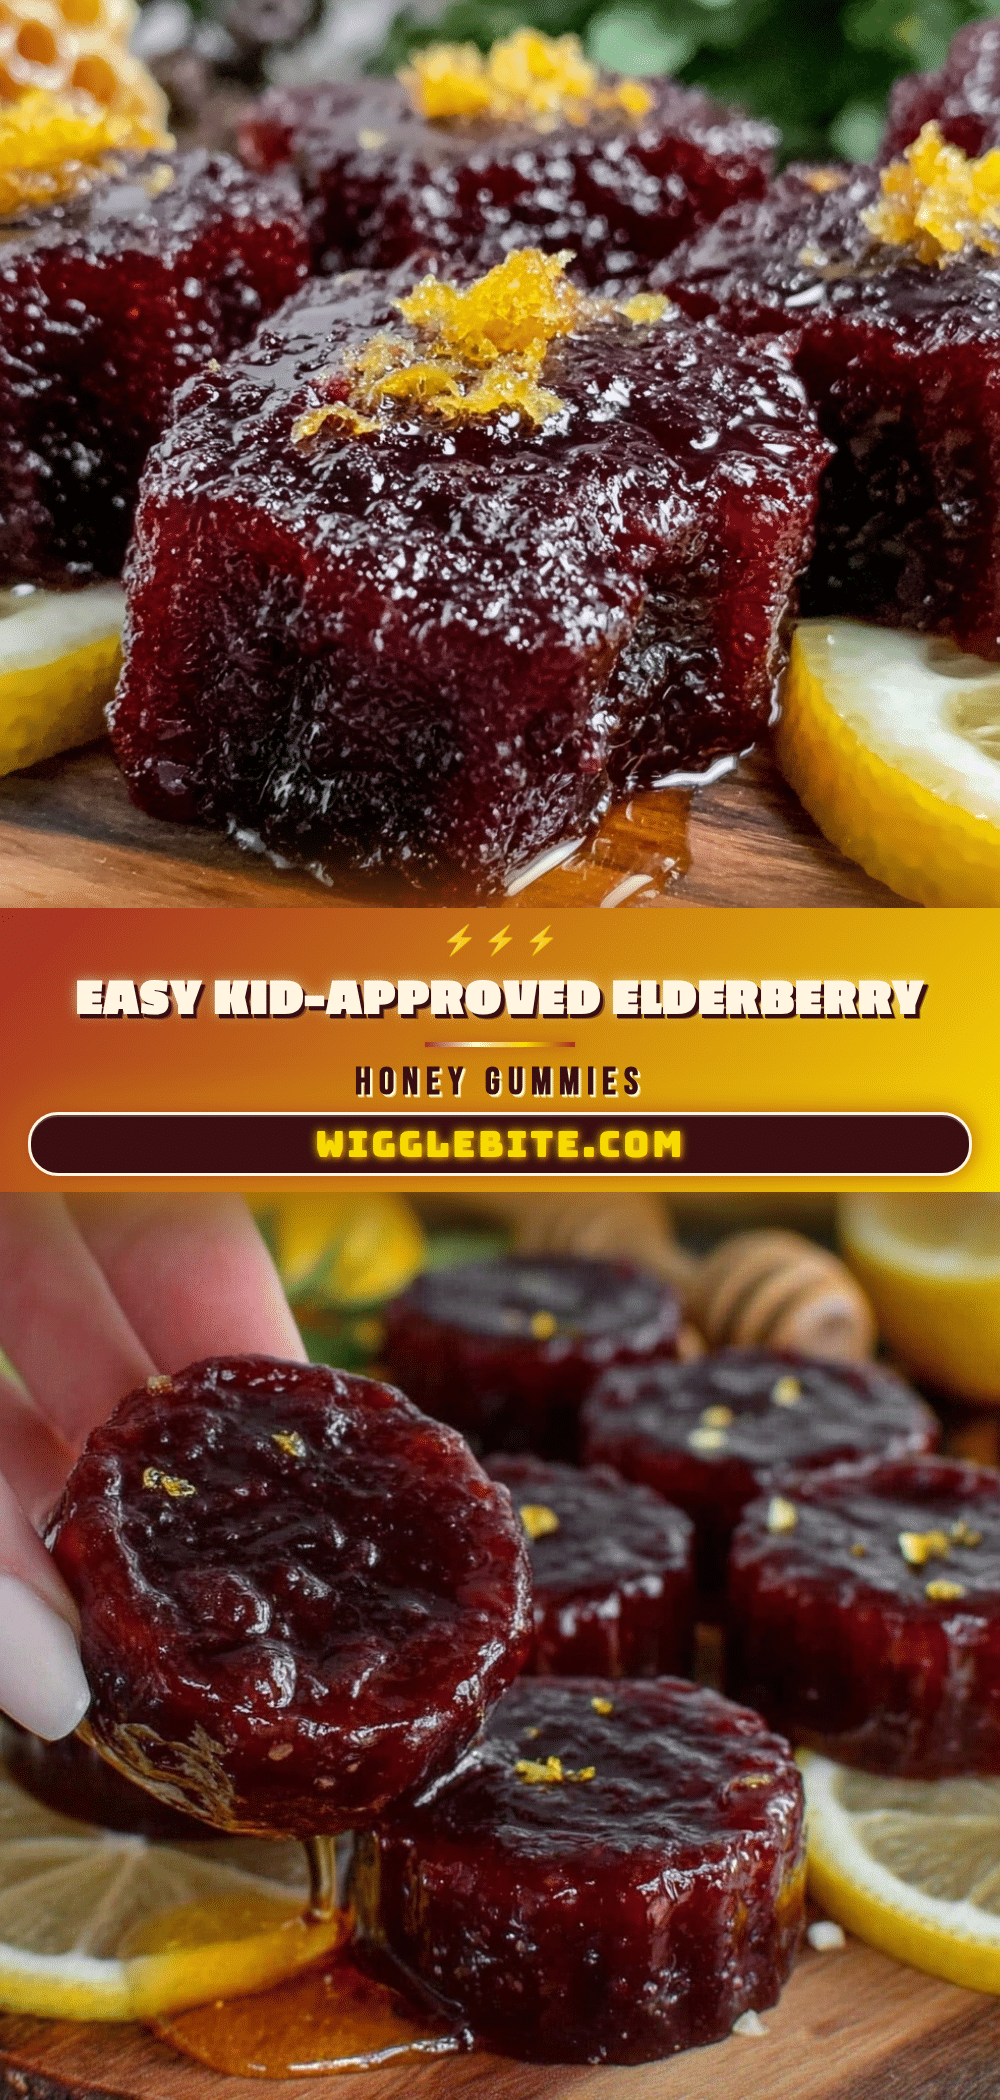
Easy Elderberry Gummies Recipe with Honey and Lemon for Kids
A simple, kid-approved elderberry gummy recipe combining honey and lemon for a tasty, healthy snack packed with antioxidants.
- Prep Time: 10 minutes
- Cook Time: 10 minutes
- Total Time: 2 hours 20 minutes
- Yield: About 30 gummies 1x
- Category: Snack
- Cuisine: American
Ingredients
- 1/2 cup (120 ml) elderberry syrup
- 1/4 cup (60 ml) honey (raw or local)
- 2 tablespoons (30 ml) fresh lemon juice
- 3 tablespoons (about 30 grams) unflavored gelatin powder
- 1/2 cup (120 ml) cold water
- Optional: a pinch of sea salt
Instructions
- Pour 1/2 cup cold water into a medium mixing bowl, then sprinkle 3 tablespoons of unflavored gelatin evenly over the surface. Let it sit for 5 minutes to bloom.
- In a small saucepan or microwave-safe bowl, combine 1/2 cup elderberry syrup, 1/4 cup honey, and 2 tablespoons fresh lemon juice. Warm gently over low heat or in 30-second microwave bursts until honey dissolves and mixture is warm but not boiling (around 110°F or 43°C).
- Pour the warm elderberry-honey-lemon mixture over the bloomed gelatin. Whisk immediately and briskly until gelatin dissolves completely and mixture is smooth, about 2-3 minutes.
- Optionally, add a pinch of sea salt and stir gently.
- Carefully spoon or pour the mixture into silicone gummy molds or a lined small baking pan.
- Place molds or pan in the refrigerator for at least 2 hours until gummies are firm.
- Remove gummies from molds or cut into squares if using a pan. Store in an airtight container in the fridge for up to 2 weeks.
Notes
Warm the syrup mixture gently to avoid boiling which reduces gelatin’s setting power. Bloom gelatin in cold water first to avoid lumps. Chill gummies at least 2 hours for best texture. Adjust gelatin amount if gummies are too soft or too firm. For vegan option, substitute gelatin with agar-agar powder (about 2 teaspoons) and boil mixture until dissolved.
Nutrition
- Serving Size: 1 gummy
- Calories: 15
- Sugar: 3.5
- Sodium: 5
- Carbohydrates: 4
- Protein: 0.5
Keywords: elderberry gummies, honey lemon gummies, healthy kids snack, elderberry syrup recipe, homemade gummies, immune boosting snack