“Are you sure this is going to work?” I remember muttering to myself, standing in my cluttered kitchen surrounded by bowls of bright red batter and a mountain of cream cheese. Truth be told, I was skeptical. Attempting a red velvet flag cake for the neighborhood Fourth of July potluck felt ambitious for someone who usually sticks to straightforward desserts. But there was something about the idea of layering that deep, velvety red cake with thick cream cheese frosting and arranging it to resemble the American flag that pulled me in. Plus, I had just gotten a text from a friend saying, “If you make that red velvet flag cake, you HAVE to share the recipe.” Challenge accepted.
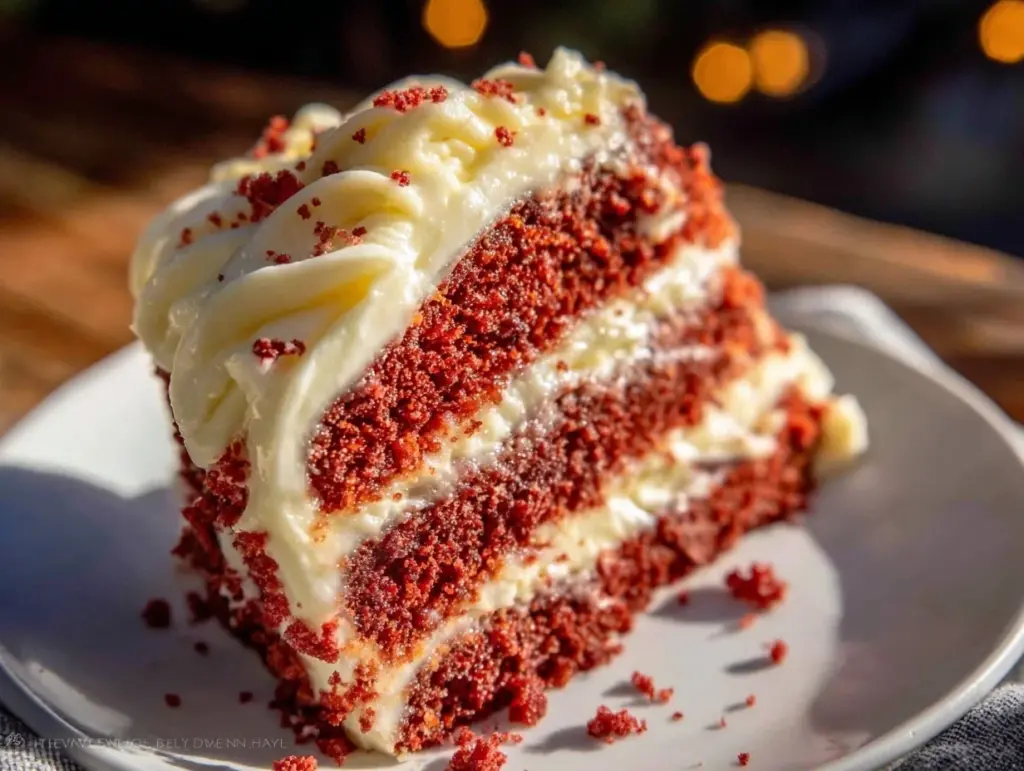
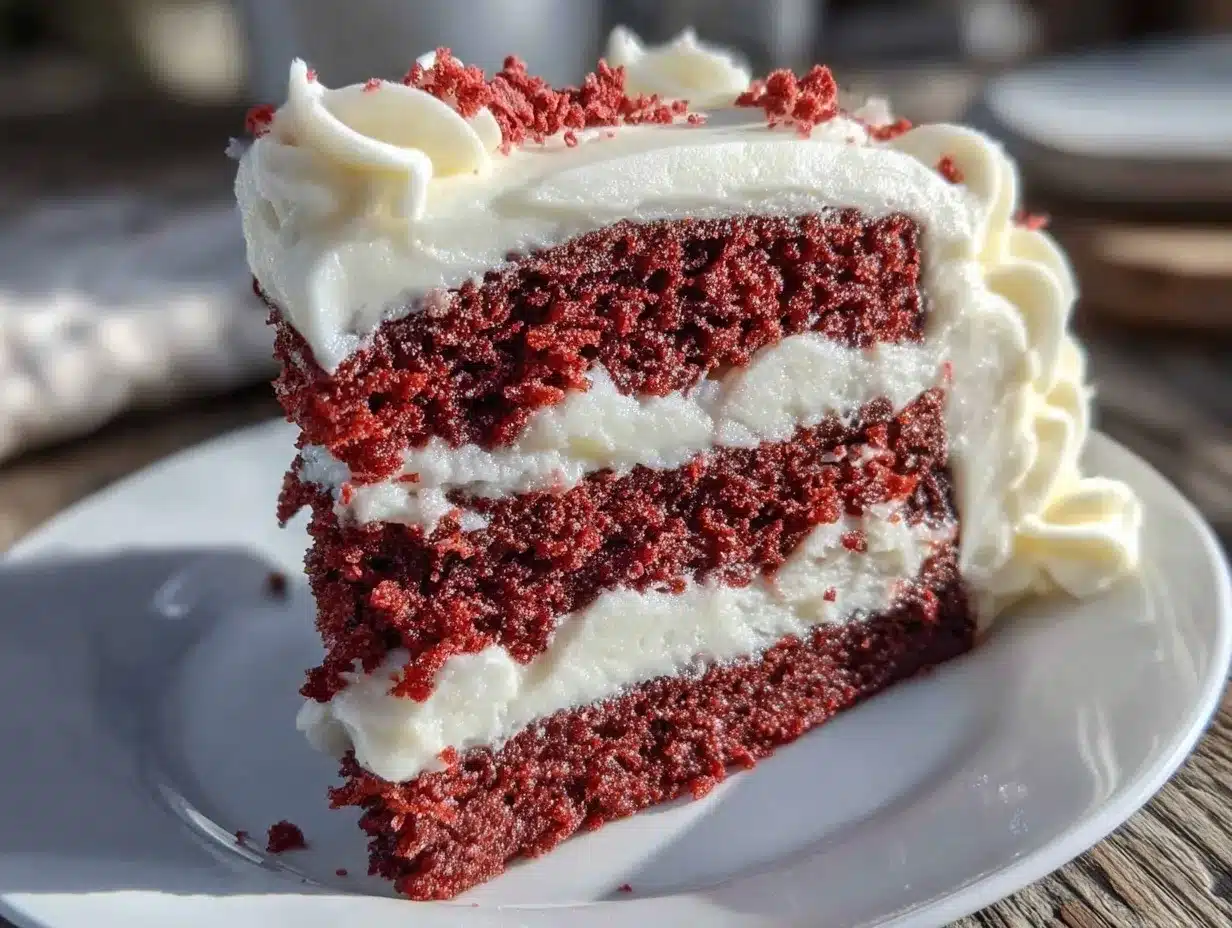
The smell of cocoa and vanilla swirling in the air soon changed my mind. Mixing the batter felt oddly therapeutic, and frosting the layers—even if a bit messy—became a quiet moment of creative focus. When I finally stepped back to admire the finished cake, the vibrant reds and creamy whites looked almost too good to cut into. But cut I did, and the first bite was a perfect mix of moist cake and tangy frosting, a little sweeter and more special than your everyday dessert. That moment of quiet satisfaction is what made this recipe stick with me—and why it’s now a go-to for celebrations and easy impressing alike.
So here’s the story behind the perfect red velvet flag cake with cream cheese frosting—a recipe that started as a half-doubt but quickly became a beloved classic. It’s a bit of fun, a touch of tradition, and a whole lot of homemade goodness all baked into one. Let’s get into the details of making this showstopper yourself.
Why You’ll Love This Recipe
Honestly, this red velvet flag cake feels like the dessert equivalent of a warm hug with a little bit of flair. After testing this recipe multiple times (yes, multiple times in one week—I wasn’t complaining), I can say it’s:
- Quick & Easy: Takes about 1 hour 15 minutes from start to finish, perfect for a last-minute celebration or a spontaneous craving.
- Simple Ingredients: No hard-to-find stuff here—just pantry staples like cocoa powder, buttermilk, and cream cheese.
- Perfect for Patriotic Occasions: Whether it’s Independence Day, Memorial Day, or just a summer BBQ, this cake is your festive dessert winner.
- Crowd-Pleaser: Kids and adults alike ask for seconds—probably because of that rich cream cheese frosting that balances the cocoa flavor beautifully.
- Unbelievably Delicious: The moistness of the cake layers combined with the tangy-smooth frosting gives every bite a little celebration.
What sets this red velvet flag cake apart? The layering and assembly technique—stacking thin layers and carefully frosting for that clean flag look—makes it stand out from your usual single-layer red velvet. Plus, the frosting is whipped light but still creamy, thanks to a trick I learned from a pastry chef friend: a touch of heavy cream folded in for that perfect texture. This recipe isn’t just good—it’s the kind you remember after the last crumb’s gone, making it a classic to keep on hand for any occasion.
What Ingredients You Will Need
This recipe uses simple, wholesome ingredients to deliver bold flavor and that classic red velvet color and texture without fuss. Most are pantry staples, and substitutions are easy if needed.
- For the Cake Layers:
- All-purpose flour (2 ½ cups / 315 g) – for structure
- Granulated sugar (1 ½ cups / 300 g) – sweetens and balances cocoa bitterness
- Cocoa powder, unsweetened (2 tablespoons / 15 g) – choose a natural cocoa for the best red color
- Baking soda (1 teaspoon) – gives lift
- Salt (½ teaspoon) – enhances flavor
- Buttermilk (1 cup / 240 ml), room temperature – adds moisture and tang; you can make your own by mixing milk with vinegar
- Vegetable oil (1 cup / 240 ml) – keeps the cake moist
- Large eggs (2), room temperature – for binding and richness
- Vanilla extract (1 teaspoon) – for depth
- Red food coloring (2 tablespoons) – gel or liquid works; gel gives a more vibrant color without thinning batter
- White vinegar (1 teaspoon) – reacts with baking soda for rise and tender crumb
- For the Cream Cheese Frosting:
- Cream cheese, softened (8 oz / 225 g) – use full-fat for best flavor and texture
- Unsalted butter, softened (½ cup / 115 g) – adds richness
- Powdered sugar (4 cups / 480 g), sifted – for smooth sweetness
- Vanilla extract (1 teaspoon) – enhances flavor
- Heavy cream (2–3 tablespoons) – for a fluffy, spreadable consistency
Pro tip: I prefer using King Arthur flour for consistent texture, and when it comes to cream cheese, Philadelphia never fails me. If you want a dairy-free option, swap regular cream cheese and butter with plant-based alternatives and use coconut cream in place of heavy cream.
Equipment Needed
- Two 9-inch (23 cm) round cake pans – for even, uniform layers
- Mixing bowls – medium and large sizes
- Electric mixer or hand mixer – makes frosting smooth and easy to whip
- Measuring cups and spoons – accuracy matters in baking
- Rubber spatula – perfect for scraping batter and folding frosting
- Cooling racks – to cool cakes evenly and prevent sogginess
- Offset spatula or butter knife – for smooth frosting application
- Optional: cake leveler or serrated knife – to trim domed tops and get flat layers for stacking
If you don’t have round pans, square pans work fine; just adjust baking time accordingly. For frosting, if you’re on a budget, a sturdy whisk and some muscle get the job done, though a mixer saves time and effort. I’ve tried this recipe with both a stand mixer and a hand mixer; both work great, but the stand mixer makes the cream cheese frosting silkier with less effort.
Preparation Method
- Preheat your oven to 350°F (175°C). Grease and flour both 9-inch pans, or line them with parchment paper. This keeps the cake from sticking and helps with clean removal.
- Mix dry ingredients: In a large bowl, sift together 2 ½ cups (315 g) flour, 1 ½ cups (300 g) sugar, 2 tablespoons (15 g) cocoa powder, 1 teaspoon baking soda, and ½ teaspoon salt. Whisk well to combine evenly.
- Combine wet ingredients: In another bowl, whisk 1 cup (240 ml) buttermilk, 1 cup (240 ml) vegetable oil, 2 large eggs, 1 teaspoon vanilla extract, 2 tablespoons red food coloring, and 1 teaspoon white vinegar until smooth.
- Make the batter: Pour the wet mixture into the dry ingredients. Mix gently with a spatula or mixer on low speed until just combined. Don’t overmix! The batter should be smooth but thick, with no flour pockets.
- Divide and bake: Pour the batter evenly between the two prepared pans. Tap the pans gently on the counter to release air bubbles. Bake for 25–30 minutes, or until a toothpick inserted in the center comes out clean.
- Cool completely: Let the cakes cool in the pans for 10 minutes, then turn them out onto cooling racks to cool fully. This step prevents the frosting from melting.
- Prepare the frosting: Beat 8 oz (225 g) softened cream cheese and ½ cup (115 g) softened butter with an electric mixer until creamy and smooth. Gradually add 4 cups (480 g) sifted powdered sugar, mixing well after each addition. Stir in 1 teaspoon vanilla extract. Add 2–3 tablespoons heavy cream to reach a fluffy, spreadable consistency.
- Level the cakes: Once cooled, trim any domed tops with a serrated knife to create flat layers for stacking.
- Assemble the flag cake: Place one cake layer on your serving plate. Spread a thick layer of frosting (about ½ cup) evenly. Repeat with the second layer. For the flag design, slice one cake layer into strips and arrange them on top to mimic the stripes. Use dollops or a piping bag of frosting for the stars area. This step is fun and allows some creative freedom.
- Chill and serve: Refrigerate the assembled cake for at least 1 hour to let the frosting set before slicing and serving.
Note: If you want perfect stripes, I’ve found cutting the cake into 1-inch (2.5 cm) strips works well. Also, keep a damp cloth handy to wipe your knife between cuts for cleaner slices. The texture should be moist but sturdy enough to hold up through assembly.
Cooking Tips & Techniques
Making a flawless red velvet flag cake isn’t just about following the steps; it’s about the little tricks that make the difference. Here’s what I learned after a few trial runs:
- Don’t skip sifting dry ingredients. It prevents lumps and helps the cocoa distribute evenly, so your color stays vibrant and uniform.
- Use room temperature eggs and buttermilk. Cold ingredients can cause the batter to curdle or bake unevenly.
- Mix the batter gently. Overmixing develops gluten and makes the cake tough instead of tender.
- Always check your oven temperature. An oven thermometer is a lifesaver. Too hot and your layers dry out; too cool and they stay dense.
- For cream cheese frosting, soften everything well. Cold butter or cream cheese leads to lumps and a less fluffy texture.
- Add heavy cream gradually. It’s easier to thin out frosting than to thicken it once it’s too loose.
- Chill the cake before slicing. It firms up the frosting and helps you get clean slices, especially important for the flag design.
One misstep I made early on was trying to frost the cake while it was still warm—lesson learned! The frosting melted, making a mess. Waiting patiently pays off. Also, multitasking is your friend here: while cakes bake, whip up the frosting and prep your decorating area for smoother assembly. And if you want a neat flag look, using a piping bag for the stars section saves time and looks polished.
Variations & Adaptations
This red velvet flag cake recipe is flexible and welcoming to tweaks, so you can tailor it to your taste or dietary needs:
- Gluten-Free Option: Substitute all-purpose flour with a 1:1 gluten-free baking blend. I tried this with Bob’s Red Mill and it worked well, though the texture is slightly denser.
- Vegan Version: Use a flax egg replacement (1 tablespoon ground flaxseed + 3 tablespoons water per egg), dairy-free cream cheese, and plant-based butter. Swap buttermilk for almond milk mixed with lemon juice.
- Flavor Twist: Add a teaspoon of espresso powder to the cake batter to deepen the cocoa flavor without overwhelming. I once paired this with a double chocolate espresso bundt cake for a coffee-themed dessert party, and it was a hit.
- Seasonal Berries: Instead of the traditional flag design, fresh blueberries and strawberries make a natural red, white, and blue decoration that’s fresh and less fussy.
- Low-Sugar Alternative: Use a powdered erythritol blend in place of powdered sugar for frosting; results are best with thorough sifting and gradual mixing.
Serving & Storage Suggestions
This red velvet flag cake is best served chilled or at room temperature. I like to pull it out of the fridge about 30 minutes before serving so the frosting softens slightly and the flavors mellow. Presentation-wise, a rustic serving plate or a simple white cake stand lets the colors pop.
Pair it with a cup of coffee or a refreshing summer drink like a blueberry lemon mocktail spritzer to balance the richness.
To store, wrap the cake tightly with plastic wrap or place it in an airtight container. It keeps well in the refrigerator for up to 4 days. For longer storage, slice and freeze individual pieces wrapped in parchment and foil for up to 3 months. When reheating, let slices thaw in the fridge overnight, then warm gently for 10 minutes at 300°F (150°C) if you want that fresh-out-of-the-oven feel.
Over time, the flavors meld beautifully—so leftovers (if you’re lucky) taste even better the next day. Just be mindful that the cream cheese frosting can soften, so handle carefully.
Nutritional Information & Benefits
Each generous slice of this red velvet flag cake (about 1/12 of the cake) provides roughly:
| Calories | 380 kcal |
|---|---|
| Fat | 22 g (mostly from cream cheese and butter) |
| Carbohydrates | 45 g |
| Protein | 4 g |
| Sugar | 32 g |
While this cake is definitely a treat, it contains some nutritional perks. The cocoa powder adds antioxidants, and the cream cheese provides calcium and protein. Using buttermilk introduces a bit of tang plus probiotics if fresh. For those watching gluten or dairy, the substitutions suggested earlier keep it accessible.
I find this cake balances indulgence with homey comfort—just right for celebrations where you want something special but not overwhelming.
Conclusion
Making the perfect red velvet flag cake with cream cheese frosting has become a little tradition of mine when summer celebrations roll around. It’s a recipe that’s approachable, forgiving, and a real crowd-pleaser. Whether you stick to the classic red and cream layers or add your own berry flair, this cake invites you to make it your own.
It’s the kind of dessert that brings people together—whether it’s a family gathering, a backyard BBQ, or a quiet moment when you just need something sweet and satisfying. I hope you find as much joy in making and sharing this cake as I have.
Feel free to leave a comment with your twists or questions, and share how your version turned out. There’s something special about recipes that grow with us, isn’t there? Happy baking!
Frequently Asked Questions
Can I make the red velvet cake layers ahead of time?
Yes! You can bake the layers a day in advance. Wrap them tightly in plastic wrap and store at room temperature or in the fridge. Just bring them to room temp before frosting for best results.
What’s the best way to get vibrant red color without artificial food dye?
Natural alternatives like beet juice or powder can work, but they might affect flavor and color intensity. Gel food coloring gives the brightest red without altering batter consistency.
Can I freeze the assembled cake?
Freezing the whole assembled cake is tricky because cream cheese frosting can change texture. It’s better to freeze individual unfrosted layers and make frosting fresh before assembling.
How do I prevent the cream cheese frosting from being too runny?
Make sure your cream cheese and butter are well softened but not melted. Add powdered sugar gradually and chill the frosting if it feels too soft before frosting the cake.
Is there a way to make this cake less sweet?
You can reduce the sugar in the cake by about ¼ cup and use less powdered sugar in the frosting, but keep in mind it might affect texture and balance. Adding a pinch of salt to frosting helps cut sweetness perception as well.
Pin This Recipe!
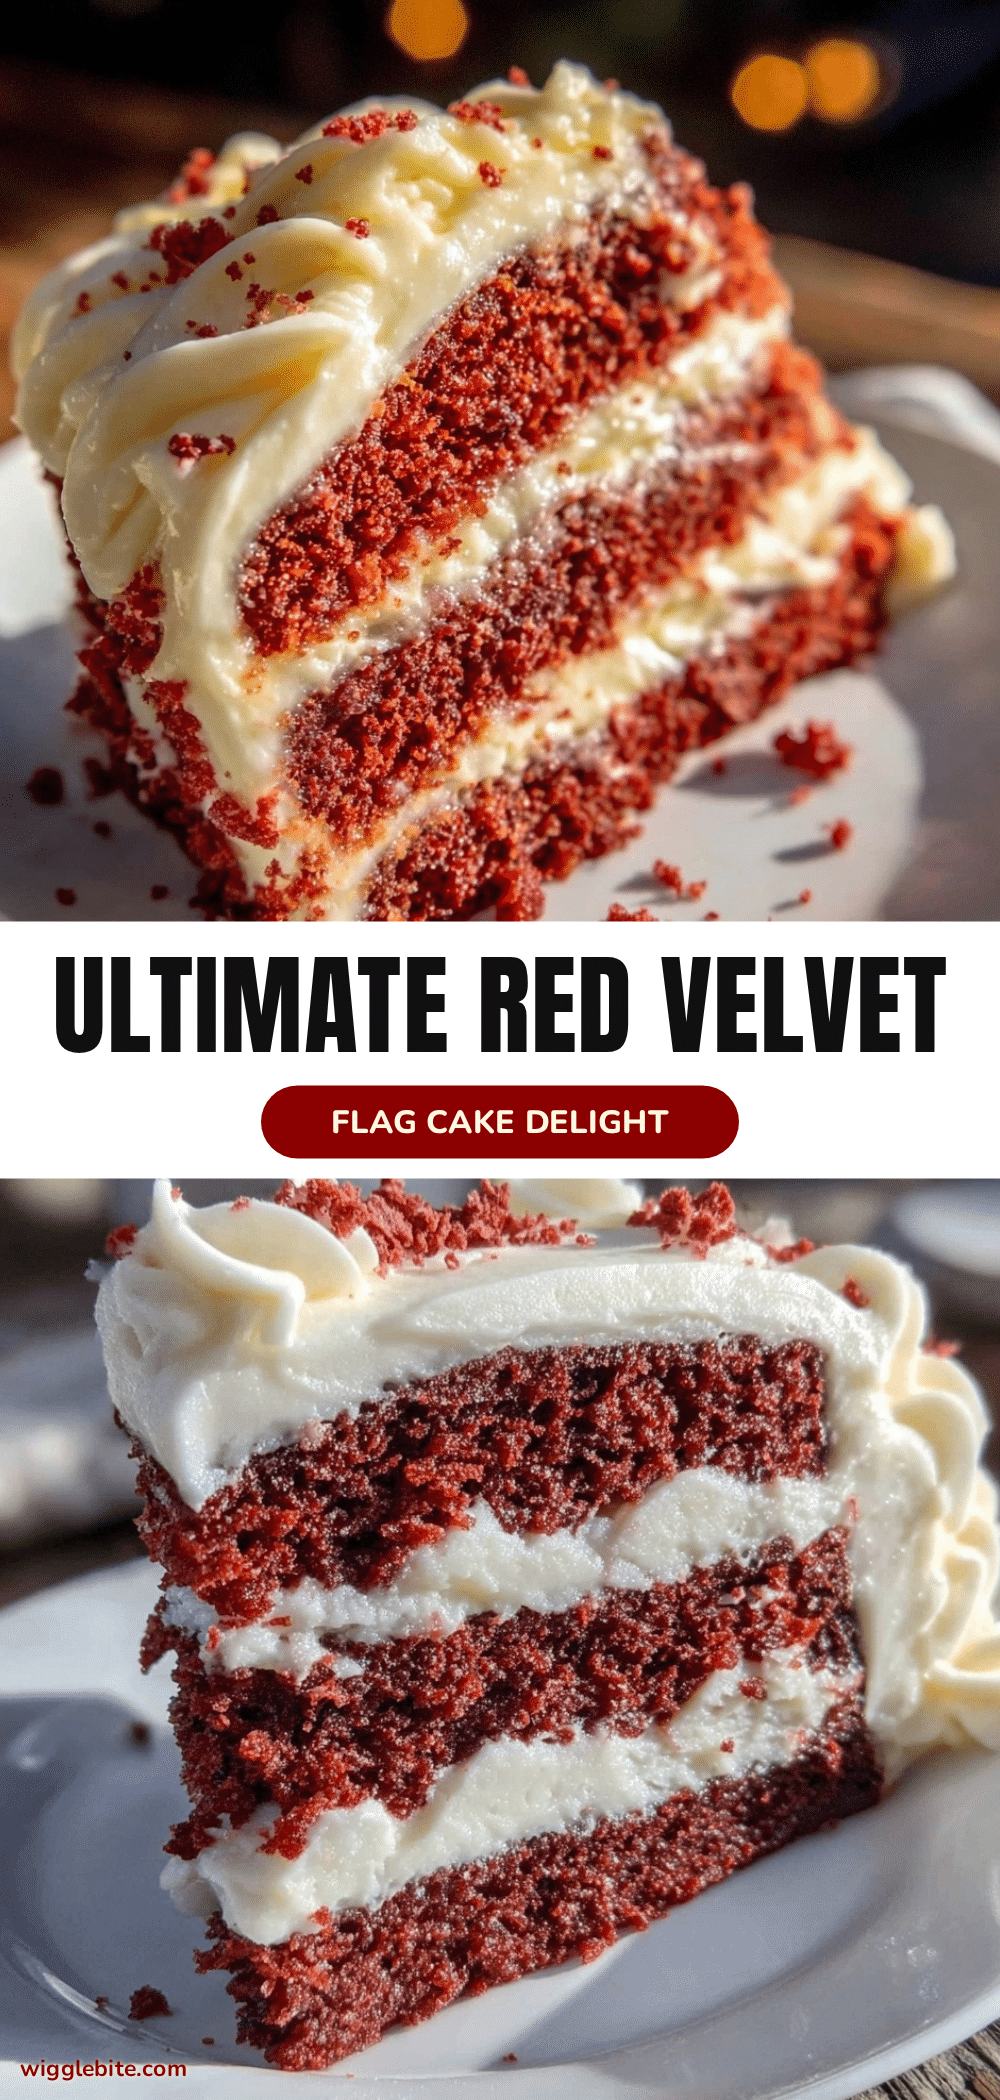
Perfect Red Velvet Flag Cake Recipe Easy Homemade Cream Cheese Frosting Tutorial
A moist and festive red velvet flag cake layered with rich, tangy cream cheese frosting, perfect for patriotic celebrations and crowd-pleasing dessert occasions.
- Prep Time: 25 minutes
- Cook Time: 30 minutes
- Total Time: 1 hour 15 minutes
- Yield: 12 servings 1x
- Category: Dessert
- Cuisine: American
Ingredients
- 2 ½ cups (315 g) all-purpose flour
- 1 ½ cups (300 g) granulated sugar
- 2 tablespoons (15 g) unsweetened cocoa powder
- 1 teaspoon baking soda
- ½ teaspoon salt
- 1 cup (240 ml) buttermilk, room temperature
- 1 cup (240 ml) vegetable oil
- 2 large eggs, room temperature
- 1 teaspoon vanilla extract
- 2 tablespoons red food coloring (gel or liquid)
- 1 teaspoon white vinegar
- 8 oz (225 g) cream cheese, softened
- ½ cup (115 g) unsalted butter, softened
- 4 cups (480 g) powdered sugar, sifted
- 1 teaspoon vanilla extract
- 2–3 tablespoons heavy cream
Instructions
- Preheat your oven to 350°F (175°C). Grease and flour two 9-inch round cake pans or line them with parchment paper.
- In a large bowl, sift together flour, sugar, cocoa powder, baking soda, and salt. Whisk well to combine.
- In another bowl, whisk together buttermilk, vegetable oil, eggs, vanilla extract, red food coloring, and white vinegar until smooth.
- Pour the wet ingredients into the dry ingredients and mix gently with a spatula or mixer on low speed until just combined. Do not overmix.
- Divide the batter evenly between the prepared pans. Tap pans gently to release air bubbles.
- Bake for 25–30 minutes or until a toothpick inserted in the center comes out clean.
- Let the cakes cool in the pans for 10 minutes, then turn out onto cooling racks to cool completely.
- For the frosting, beat cream cheese and butter with an electric mixer until creamy and smooth.
- Gradually add powdered sugar, mixing well after each addition. Stir in vanilla extract.
- Add heavy cream gradually to reach a fluffy, spreadable consistency.
- Level the cooled cakes by trimming domed tops with a serrated knife.
- Assemble the cake by placing one layer on a serving plate and spreading about ½ cup frosting evenly on top.
- Repeat with the second layer. Slice one cake layer into strips and arrange on top to mimic flag stripes.
- Use dollops or a piping bag of frosting to create the stars area.
- Refrigerate the assembled cake for at least 1 hour to let the frosting set before slicing and serving.
Notes
Use room temperature ingredients for best results. Do not overmix the batter to keep the cake tender. Chill the cake before slicing for clean cuts. Gel food coloring provides the brightest red color. For a dairy-free version, substitute cream cheese and butter with plant-based alternatives and use coconut cream instead of heavy cream. To reduce sweetness, decrease sugar slightly and add a pinch of salt to the frosting.
Nutrition
- Serving Size: 1 slice (1/12 of cak
- Calories: 380
- Sugar: 32
- Fat: 22
- Carbohydrates: 45
- Protein: 4
Keywords: red velvet cake, cream cheese frosting, flag cake, patriotic dessert, Fourth of July cake, easy red velvet, homemade frosting