“Are you sure this will work?” I asked myself, eyeing the half-pint of black raspberries I’d impulsively picked up at the farmer’s market that morning. The berries looked a little bruised, and honestly, I was skeptical about making jam from such a small batch. But I had recently found a vanilla bean tucked away in my spice cabinet, and the idea of blending its fragrant warmth with the tartness of black raspberries was too tempting to ignore.
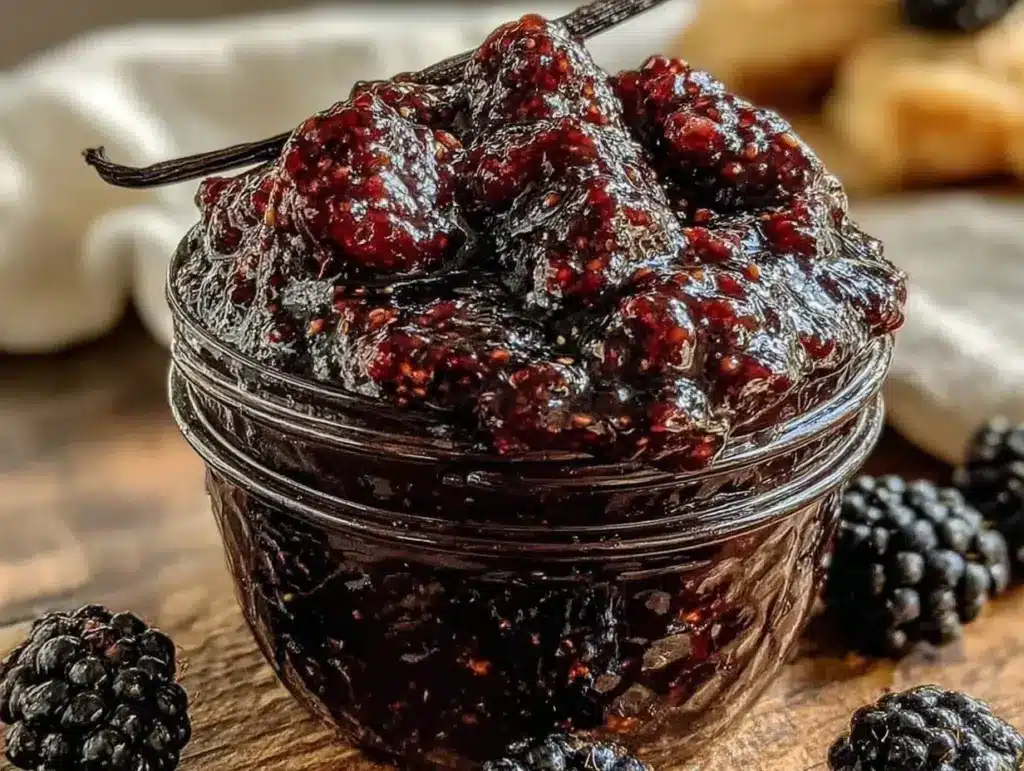
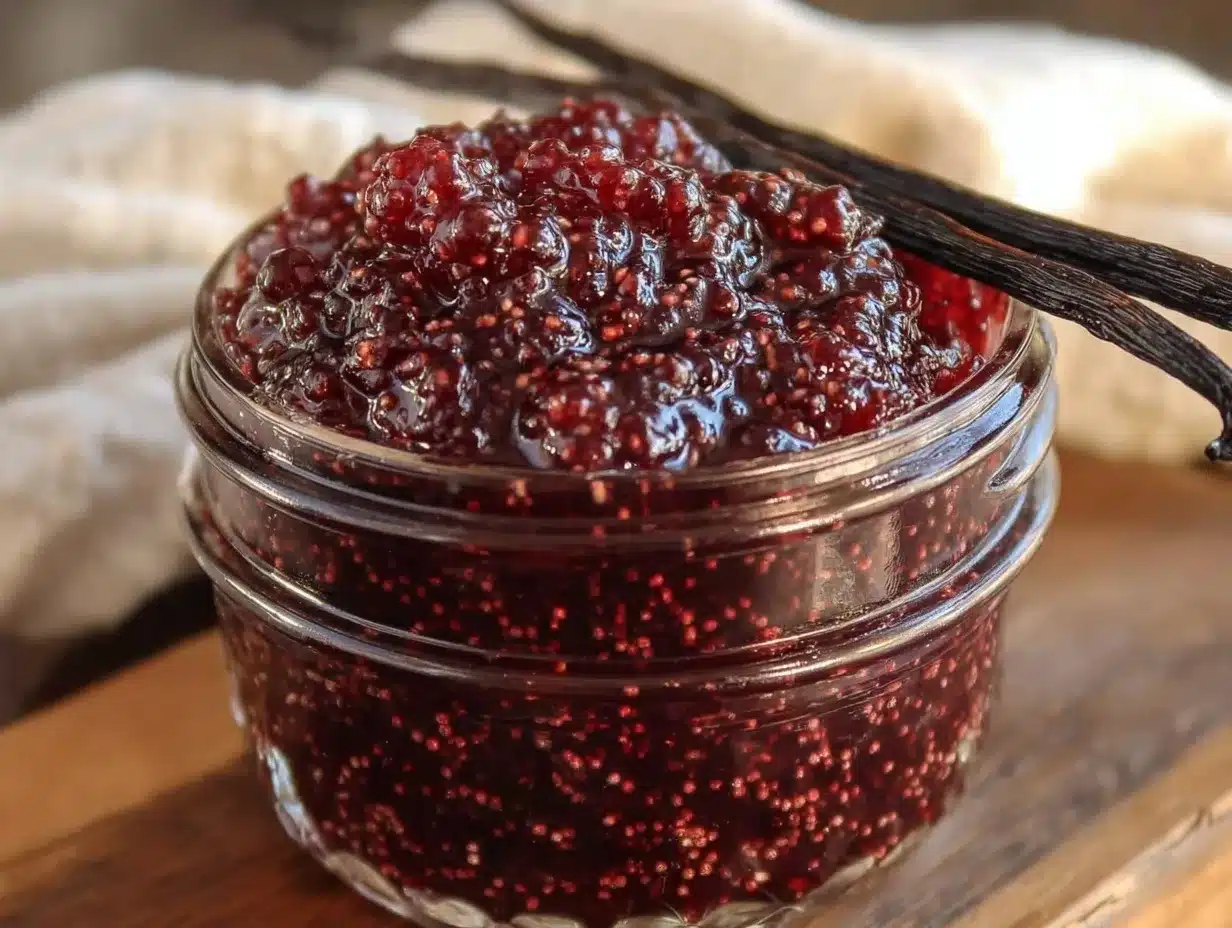
So there I was, late afternoon light spilling over my cluttered kitchen counter, stirring a pot of bubbling fruit. The scent of vanilla and berries filled the air, soft and cozy, and I thought, maybe this little experiment wasn’t going to be such a bust after all. Turns out, this homemade black raspberry jam with vanilla bean—small batch recipe—quickly became my go-to for when I didn’t feel like making a huge batch but still craved that fresh, vibrant jam taste.
It’s funny how something so simple can turn into a quiet joy—spreading that deep purple jam on morning toast or dolloping it over a bowl of plain yogurt. This recipe stuck with me because it’s honest and approachable, with just the right hint of vanilla to make it feel special without stealing the spotlight from those wild, tangy black raspberries. I think you’ll find it’s the kind of jam that feels homemade in the best way—never overdone and always ready to brighten your day.
Why You’ll Love This Recipe
After making this homemade black raspberry jam with vanilla bean a handful of times, I can say it hits a sweet spot for flavor, ease, and versatility. Here’s why it quickly became a favorite in my kitchen:
- Quick & Easy: The small batch size means you’re done in under an hour, perfect for when you want fresh jam without the wait or excess.
- Simple Ingredients: Just black raspberries, sugar, lemon juice, and a vanilla bean. No weird pectin powders or preservatives, just pure, honest jam.
- Perfect for Small Kitchens: If you don’t want to tie up your stove or make a ton, this recipe’s small scale feels manageable and satisfying.
- Crowd-Pleaser: Family, friends, or even that neighbor who’s always asking for “something homemade” will love the nuanced flavor—kids especially love how it’s not too sweet.
- Unbelievably Delicious: The vanilla bean adds a subtle warmth that complements the tartness of the black raspberries, giving it depth you won’t find in store-bought jams.
This recipe isn’t just another jam—it’s the one I reach for when I want a little homemade magic without fuss. The way the vanilla bean infuses slowly as the jam cooks creates a smooth, rich aroma that’s genuinely comforting. Honestly, it’s been my secret weapon for turning a simple breakfast into a moment worth savoring. Plus, it pairs beautifully with dishes like apricot-glazed chicken thighs when I want to add a fruity touch to dinner.
What Ingredients You Will Need
This recipe uses simple, wholesome ingredients to deliver bold flavor and satisfying texture without the fuss. Most are pantry staples, with the star being fresh black raspberries that bring that signature tang and color.
- Black raspberries: 2 cups (about 300 grams), fresh or thawed frozen (fresh is best for vibrant flavor)
- Granulated sugar: ¾ cup (150 grams), adjust slightly based on your sweetness preference
- Lemon juice: 1 tablespoon freshly squeezed (adds brightness and natural pectin)
- Vanilla bean: 1 whole bean, split lengthwise (or 1 teaspoon pure vanilla extract if you’re in a pinch)
For the vanilla bean, I prefer using a Madagascar variety when I can find it; it has a richer, creamier fragrance. If fresh vanilla beans aren’t available, pure vanilla extract works, but the bean adds a lovely speckled look and deeper flavor.
If you want a slightly less sweet jam, reduce the sugar to ½ cup (100 grams). For a dairy-free, vegan-friendly spread, this recipe is naturally good to go—no hidden animal products here.
In summer, if you happen to have black raspberries frozen from peak season, they thaw beautifully for this recipe and still give that fresh-picked taste. Just be gentle when mashing frozen berries, as they can be a bit fragile.
Equipment Needed
- Medium saucepan: A heavy-bottomed 2-quart (2-liter) pan works best to prevent scorching.
- Wooden spoon or heatproof spatula: For stirring the jam as it cooks.
- Small sharp knife: To split the vanilla bean.
- Measuring cups and spoons: For precise ingredient amounts.
- Clean glass jar or small canning jar: To store the jam once cooled.
If you don’t have a vanilla bean knife, a paring knife or even kitchen scissors can do the job. I’ve made this jam numerous times with just a basic saucepan and a wooden spoon—sometimes the simplest tools are all you need. For a budget-friendly option, check thrift stores for quality jars and pans that often outperform cheap new ones. Also, a candy thermometer isn’t necessary here, but if you have one, it can help hit the jam setting temperature (220°F / 104°C) precisely.
Preparation Method
- Prep the vanilla bean: Using your knife, carefully split the vanilla bean lengthwise and scrape out the tiny seeds with the back of the knife. Set both the seeds and pod aside.
- Mash the berries: In your saucepan, gently mash the black raspberries with a wooden spoon or potato masher until you have a chunky puree. This usually takes about 2 minutes.
- Add sugar and lemon juice: Stir in the sugar and lemon juice. Toss in both the vanilla seeds and the empty pod to infuse flavor during cooking.
- Cook the jam: Place the pan over medium heat and bring the mixture to a gentle boil. Stir frequently to prevent burning. Once boiling, reduce to a simmer and cook uncovered for about 20-25 minutes. You’ll notice the mixture thickening and the color deepening.
- Test the jam: To check if the jam is set, place a small spoonful on a chilled plate and let it cool for a minute. Run your finger through it—if it wrinkles and holds shape, it’s ready. If not, cook for a few more minutes and test again.
- Remove the vanilla pod: Once set, fish out the vanilla pod and discard. You don’t want it in the jar!
- Jar the jam: Transfer the hot jam into a sterilized glass jar. Leave about ¼ inch headspace at the top. Let it cool to room temperature before sealing with a lid.
- Cool and store: Allow the jam to cool fully and then refrigerate. It thickens further as it cools. Use within 2-3 weeks or freeze for longer storage.
Pro tip: Stirring constantly during the last 10 minutes helps prevent the jam from sticking to the pan and burning. And if you notice foam forming on top while cooking, skim it off with a spoon for a clearer jam.
Cooking Tips & Techniques
Making jam might seem straightforward, but a few tricks can make your homemade black raspberry jam with vanilla bean truly shine.
- Don’t rush the simmer: Slow simmering lets the flavors meld and the texture thicken naturally. High heat can burn the sugars and give a bitter taste.
- Use fresh lemon juice: Bottled lemon juice often lacks the acidity needed for proper setting. The natural pectin in lemon juice helps the jam gel perfectly.
- Be gentle with berries: Over-mashing can turn your jam into a soupy mess. A few chunks add a rustic feel and better texture.
- Test the set early: Because batch sizes are small, jams can set quickly. Testing around 20 minutes prevents overcooking.
- Vanilla bean patience: Leaving the vanilla pod to infuse during cooking adds subtle complexity. Don’t skip removing the pod before jarring—it can become bitter.
- Clean jars: Sterilize jars by boiling or in a dishwasher cycle to extend shelf life and keep your jam safe.
One time, I got distracted and let the jam cook a bit too long, and it turned out too thick—more like a fruit paste. That experience taught me to watch the clock and test often. Also, stirring with a wooden spoon instead of metal helps avoid metallic aftertastes. If you want a smoother jam, using an immersion blender for a few seconds before cooking can help, but I like the natural texture here.
Variations & Adaptations
While this small batch black raspberry jam is fantastic as is, it’s also a great base for playing around with flavors and dietary needs.
- Vanilla Honey Jam: Swap half the sugar for raw honey for a floral sweetness that pairs beautifully with the berry tartness.
- Spiced Jam: Add a pinch of ground cinnamon or a star anise pod during cooking for a warm, cozy twist.
- Low-Sugar Version: Use a natural pectin product designed for low-sugar jams and reduce sugar to ¼ cup (50 grams), adjusting cooking time accordingly.
- Mixed Berry Blend: Combine black raspberries with blueberries or blackberries for a deeper fruit complexity.
- Alcohol-Infused: Stir in a splash of vanilla rum or brandy after cooking for a grown-up flavor.
Personally, I once tried a batch with a bit of lavender added, and it was surprisingly delicate and perfect for a summer brunch spread. If you’re ever making this jam alongside other recipes like the crispy patty pan squash fritters with herbed lemon yogurt sauce, the floral notes create a lovely harmony on the table.
Serving & Storage Suggestions
This homemade black raspberry jam with vanilla bean tastes best served slightly chilled or at room temperature. I love spooning it over warm buttered toast or swirled into plain Greek yogurt for a quick breakfast.
It’s also a fantastic companion to cheese boards—try it with creamy goat cheese or sharp cheddar. For a simple dessert, dollop it onto vanilla ice cream or use it as a filling for thumbprint cookies.
Store your jam in a clean, airtight jar in the refrigerator. It should last around 2-3 weeks. If you want to keep it longer, freezing is your friend—freeze in small portions and thaw gently in the fridge overnight.
The flavors deepen overnight, so if you can wait a day before digging in, you’ll notice the vanilla and berry notes marry even better. Just remember to stir the jam before serving, as natural settling might occur.
Nutritional Information & Benefits
This small batch homemade black raspberry jam is a relatively low-calorie treat, with the main ingredients being fruit and sugar. A 1-tablespoon (20g) serving roughly contains:
| Nutrient | Amount |
|---|---|
| Calories | 50 |
| Carbohydrates | 13g |
| Fiber | 1g |
| Sugar | 12g |
| Vitamin C | 5% DV |
Black raspberries are rich in antioxidants and vitamin C, which support immune health and fight free radicals. The lemon juice adds a boost of vitamin C and helps preserve the jam naturally.
This jam is naturally gluten-free and vegan, making it suitable for many dietary preferences. Just keep in mind the sugar content if you’re watching your intake.
As someone who values both flavor and mindful eating, I appreciate that this recipe keeps ingredients simple and recognizable, with no artificial additives or preservatives.
Conclusion
This homemade black raspberry jam with vanilla bean – small batch recipe is one of those little kitchen wins that feels both indulgent and straightforward. It’s perfect for when you want fresh, flavorful jam without committing to a giant batch or confusing ingredients.
Whether you’re spreading it on your morning toast, adding a spoonful to yogurt, or bringing a jar as a thoughtful gift, this jam brings a touch of homemade goodness to everyday moments. I love that it balances the wild tartness of black raspberries with the gentle warmth of vanilla bean in a way that feels just right.
Give it a try, tweak it to your taste, and maybe pair it with something savory like the garlic scape pasta with brown butter and toasted pine nuts for a meal that surprises and delights. I’d love to hear how you make this jam yours—please leave a comment or share your variations!
Trust me, once you make this jam, you’ll find it’s the small batch recipe you reach for time and again.
FAQs
Can I use frozen black raspberries for this jam?
Yes! Just thaw them completely before cooking. Frozen berries might release more liquid, so you may need to cook the jam a little longer to reach the right thickness.
How long will this homemade jam keep in the refrigerator?
Stored in a clean, airtight jar, it should last about 2 to 3 weeks refrigerated. For longer storage, freeze in small portions.
What if I don’t have a vanilla bean? Can I use vanilla extract instead?
Absolutely. Use about 1 teaspoon of pure vanilla extract added at the end of cooking to keep that lovely vanilla flavor.
Is this jam suitable for canning to store at room temperature?
This recipe is designed for small batches and short-term refrigeration. For safe shelf-stable canning, you’d need to follow proper canning procedures with sterilized jars and processing in a water bath.
Can I make this jam less sweet?
Yes, you can reduce the sugar to ½ cup (100 grams) or even less, but keep in mind that sugar helps with preservation and texture. Using lemon juice and testing the set carefully is important if you reduce sugar.
Pin This Recipe!
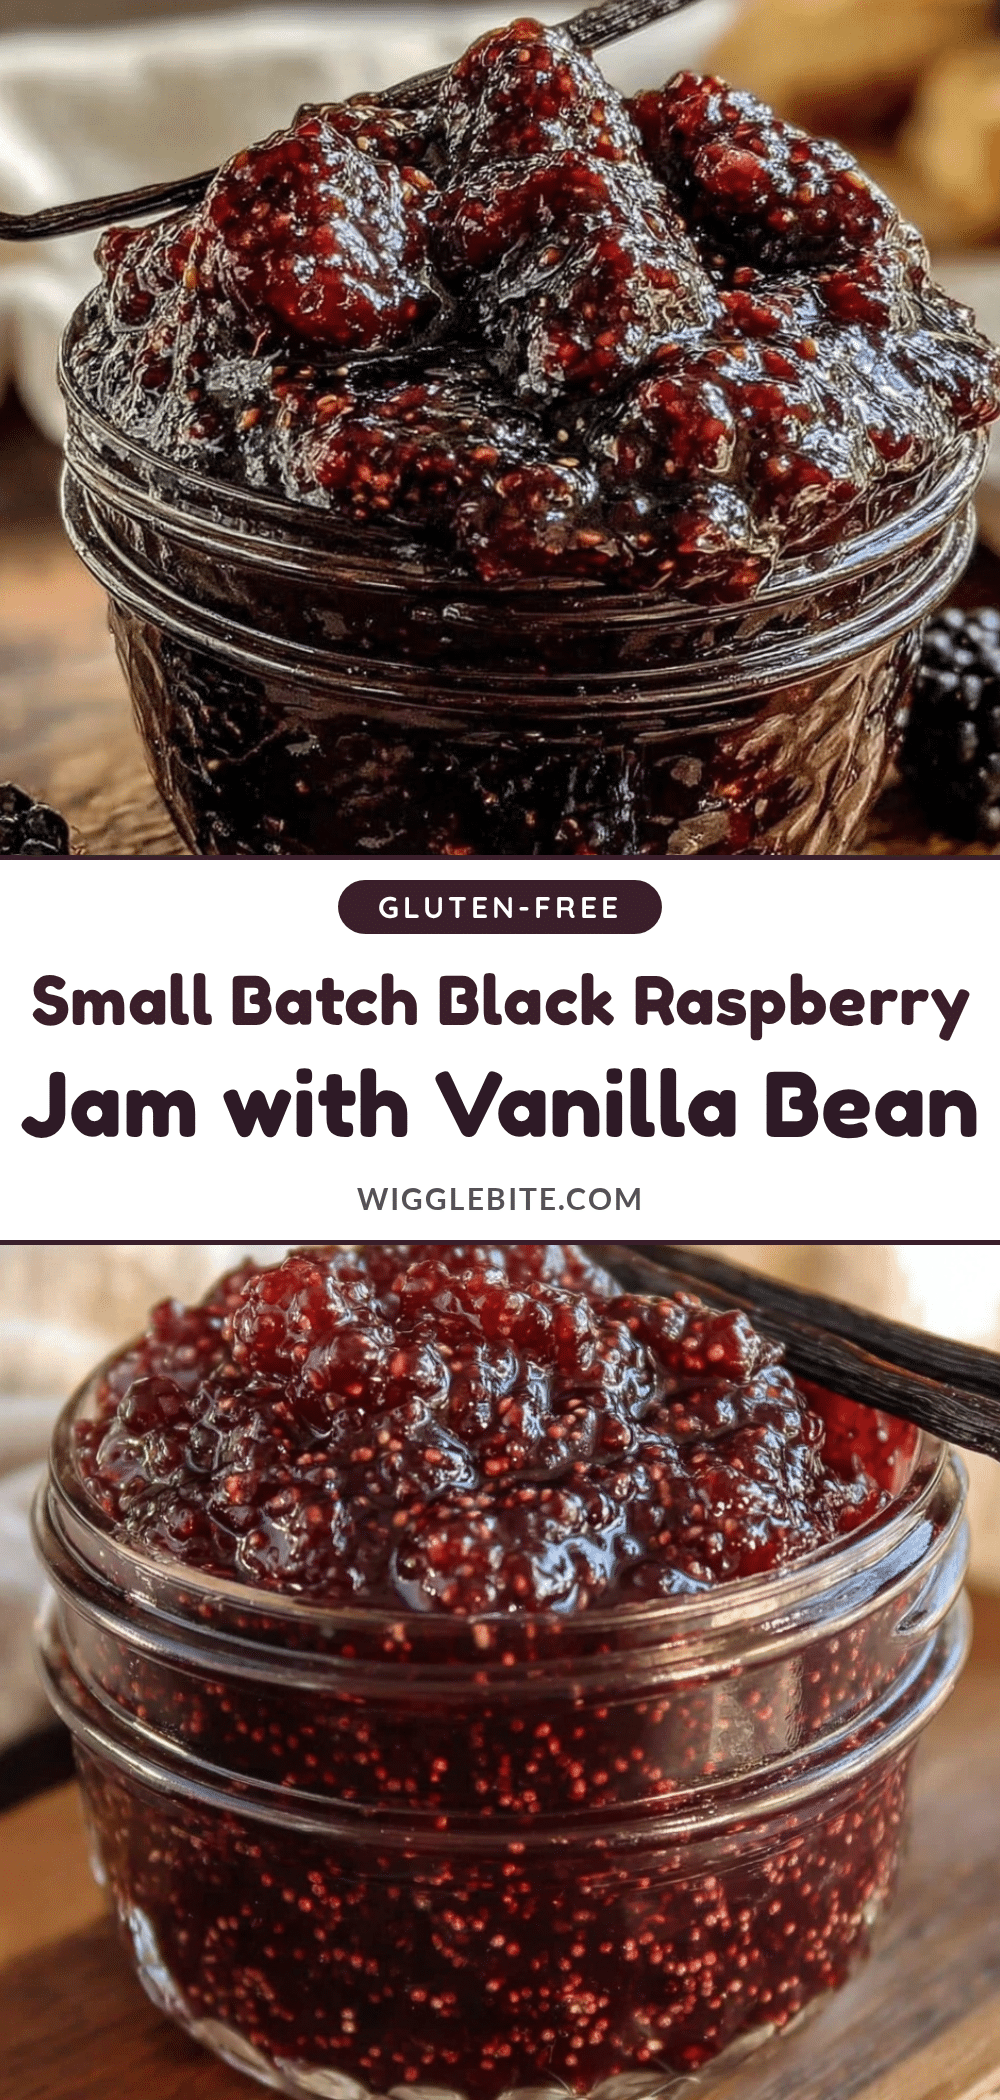
Homemade Black Raspberry Jam with Vanilla Bean Small Batch Recipe Easy and Perfect
A small batch recipe for homemade black raspberry jam infused with vanilla bean, offering a fresh, vibrant jam taste with a subtle warmth from vanilla. Perfect for quick, easy, and flavorful jam without preservatives or pectin powders.
- Prep Time: 10 minutes
- Cook Time: 25 minutes
- Total Time: 35 minutes
- Yield: About 1 half-pint jar (approximately 1 cup) 1x
- Category: Preserves
- Cuisine: American
Ingredients
- 2 cups (about 300 grams) black raspberries, fresh or thawed frozen
- 3/4 cup (150 grams) granulated sugar, adjust to taste
- 1 tablespoon freshly squeezed lemon juice
- 1 whole vanilla bean, split lengthwise (or 1 teaspoon pure vanilla extract)
Instructions
- Using a small sharp knife, carefully split the vanilla bean lengthwise and scrape out the tiny seeds with the back of the knife. Set both the seeds and pod aside.
- In a medium saucepan, gently mash the black raspberries with a wooden spoon or potato masher until you have a chunky puree, about 2 minutes.
- Stir in the sugar and lemon juice. Add both the vanilla seeds and the empty pod to infuse flavor during cooking.
- Place the pan over medium heat and bring the mixture to a gentle boil, stirring frequently to prevent burning.
- Reduce to a simmer and cook uncovered for about 20-25 minutes until the mixture thickens and the color deepens.
- Test the jam by placing a small spoonful on a chilled plate and letting it cool for a minute. If it wrinkles and holds shape when you run your finger through it, it is ready; if not, cook a few more minutes and test again.
- Remove and discard the vanilla pod.
- Transfer the hot jam into a sterilized glass jar, leaving about 1/4 inch headspace at the top. Let it cool to room temperature before sealing with a lid.
- Allow the jam to cool fully and then refrigerate. It thickens further as it cools. Use within 2-3 weeks or freeze for longer storage.
Notes
Stir constantly during the last 10 minutes to prevent sticking and burning. Skim off any foam for clearer jam. Use fresh lemon juice for proper setting. Test jam set early to avoid overcooking. Remove vanilla pod before jarring to prevent bitterness. Sterilize jars before use. For smoother jam, briefly use an immersion blender before cooking. Frozen berries should be thawed completely and handled gently.
Nutrition
- Serving Size: 1 tablespoon (20 gra
- Calories: 50
- Sugar: 12
- Carbohydrates: 13
- Fiber: 1
Keywords: black raspberry jam, homemade jam, vanilla bean jam, small batch jam, easy jam recipe, fruit preserves, vegan jam, gluten-free jam