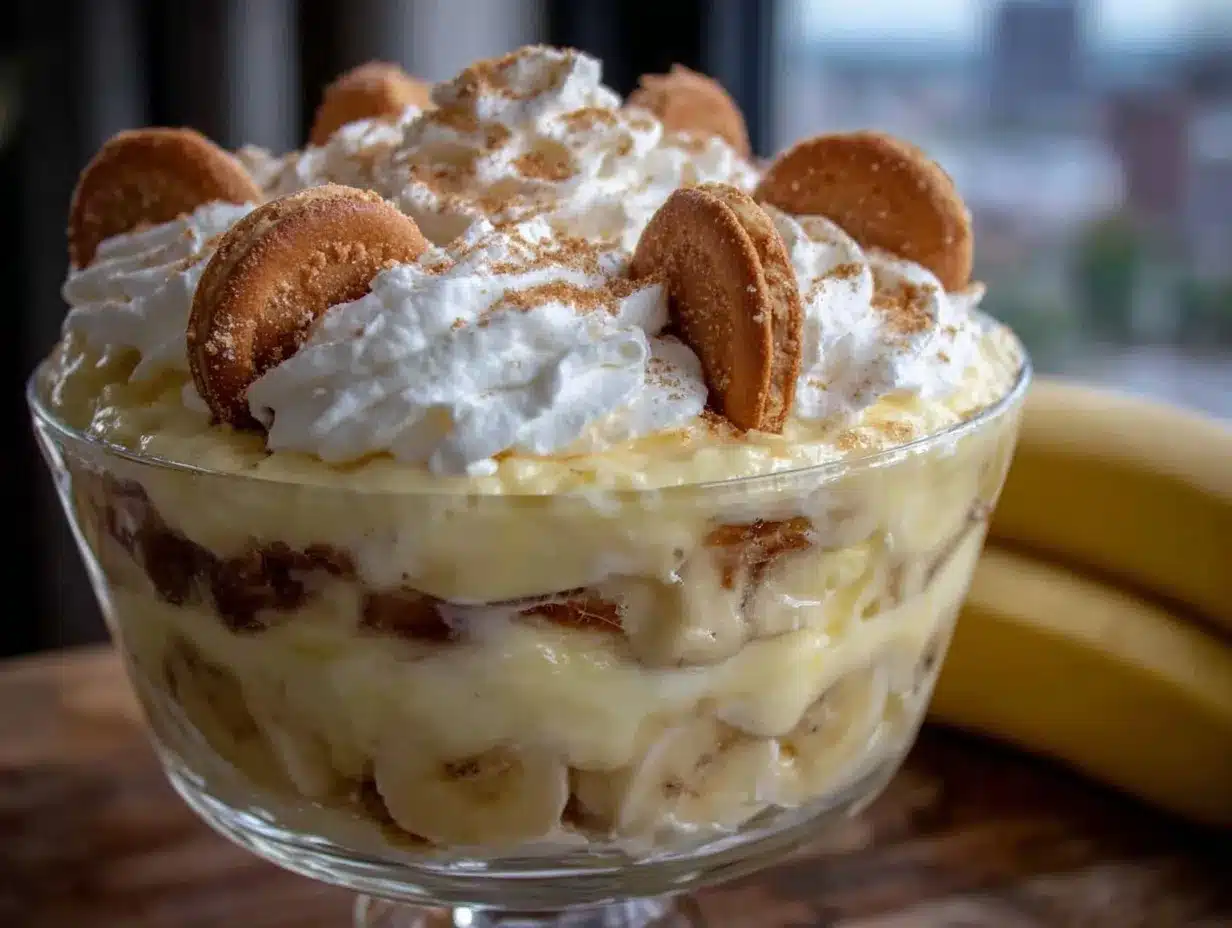
“You know that feeling when a simple dessert just hits all the right notes?” That’s exactly what happened one lazy Sunday afternoon at my neighbor’s porch. The sun was dipping low, and she casually pulled out a bowl of creamy banana pudding topped with crunchy vanilla wafers. Honestly, I wasn’t expecting much—just another sweet treat to nibble on. But let me tell you, that first spoonful was like a little vacation for my taste buds.
I remember getting distracted halfway through the recipe because my cat decided my mixing bowl was his new favorite nap spot. Classic me, right? Despite the minor chaos, this dessert stuck with me. It’s funny how something so simple can carry such a comforting vibe. Maybe you’ve been there—craving that perfect balance of smooth and crunchy, sweet but not overpowering.
After a few trials in my own kitchen, tweaking the pudding to get that silky texture and layering the wafers just so, this recipe became my go-to for any casual gathering or when I just need a little pick-me-up. This creamy banana pudding with crunchy vanilla wafers is nothing fancy, but it’s got soul. And that’s why it’s worth sharing.
Why You’ll Love This Recipe
Let me break down why this creamy banana pudding with crunchy vanilla wafers stands out from the crowd:
- Quick & Easy: Whips up in under 30 minutes, which is a lifesaver on busy days or last-minute dessert emergencies.
- Simple Ingredients: You probably already have most of these in your pantry, so no extra grocery runs needed.
- Perfect for All Occasions: Whether it’s a casual family dinner, potluck, or a cozy night in, this pudding fits right in.
- Crowd-Pleaser: Kids and adults alike rarely say no to this combo of creamy and crunchy.
- Unbelievably Delicious: The luscious banana-flavored pudding layered with crispy vanilla wafers creates a texture and flavor combo that’s downright addictive.
What makes this recipe special? I blend the pudding until ultra-smooth, skipping lumps and graininess that can sometimes sneak in. Plus, I don’t just toss the wafers on top—I layer them throughout, so every bite has that satisfying crunch. This isn’t just any banana pudding; it’s the kind that makes you close your eyes and savor the moment.
Honestly, it’s comfort food reimagined—easy, fast, but with the same soul-soothing satisfaction that makes you want seconds. Give it a try, and I bet you’ll find yourself reaching for it again and again.
What Ingredients You Will Need
This recipe uses simple, wholesome ingredients to deliver bold flavor and satisfying texture without the fuss. Most are pantry staples or easy to find fresh items, and substitutions are straightforward if needed.
- For the Pudding:
- 2/3 cup granulated sugar (I like Domino for consistent sweetness)
- 1/4 cup all-purpose flour (King Arthur brand gives great texture)
- 1/4 teaspoon salt
- 3 cups whole milk (for best creaminess; can swap with almond milk for dairy-free)
- 3 large egg yolks, lightly beaten (room temperature)
- 2 teaspoons pure vanilla extract (Nielsen-Massey is my pick)
- 3 ripe bananas, sliced (firm but ripe for sweetness and texture)
- 2 tablespoons unsalted butter, cut into small pieces (adds richness)
- For the Layers & Topping:
- 1 package (about 12 oz) vanilla wafers (Nilla Wafers classic, but any crunchy vanilla cookies work)
- Optional: Whipped cream for garnish (homemade or store-bought)
Ingredient Tips: Look for firm, fresh bananas—not too mushy—to avoid a watery pudding. If you’re making this in summer, swapping in fresh strawberries or blueberries with the bananas adds a bright twist. For a gluten-free option, almond or oat flour can replace all-purpose flour, but keep an eye on pudding thickness.
Equipment Needed
- Medium-sized saucepan (non-stick preferred for easy cleanup)
- Whisk (a sturdy one helps prevent lumps in the pudding)
- Mixing bowls (one for egg yolks, one for final assembly)
- Measuring cups and spoons (accuracy helps with pudding consistency)
- Spatula (silicone ones are great for scraping the pudding from the pan)
- 9×9 inch baking dish or a similar-sized glass bowl for layering
- Optional: Electric mixer if you plan to whip your own cream
If you don’t have a whisk, a fork can work in a pinch, though whisking takes longer. For budget options, a sturdy stainless steel saucepan from brands like Cuisinart or Farberware can last years without warping. Don’t forget to season your equipment with a little butter or oil to keep pudding from sticking during cooking—trust me, it saves you a headache.
Preparation Method
- Mix Dry Ingredients: In your medium saucepan, combine 2/3 cup sugar, 1/4 cup flour, and 1/4 teaspoon salt. Whisk them together until evenly mixed. This helps avoid lumps later. (Time: 3 minutes)
- Add Milk: Slowly pour in 3 cups whole milk while whisking constantly. This gradual mixing prevents clumps. (Tip: Pour in a thin stream.)
- Heat the Mixture: Place the pan over medium heat, stirring constantly. You’ll notice the mixture starting to thicken after about 5-7 minutes. Don’t step away! If you do, it can scorch on the bottom.
- Temper the Egg Yolks: In a separate bowl, lightly beat 3 egg yolks. Slowly whisk in about 1 cup of the hot milk mixture to the yolks to raise their temperature without scrambling. Then, pour the yolk mixture back into the saucepan while whisking vigorously.
- Cook Until Thickened: Continue cooking on medium heat for another 2-3 minutes, whisking constantly. The pudding will become thick and creamy. Look for a smooth, glossy texture.
- Remove from Heat and Add Butter & Vanilla: Take the pan off the stove and stir in 2 tablespoons unsalted butter and 2 teaspoons vanilla extract until melted and combined.
- Layer the Dessert: Take your 9×9 inch baking dish and start with a layer of vanilla wafers (about one-third of the package). Add half of the banana slices on top, then pour half of the pudding over them. Repeat the layers—wafers, bananas, pudding—until all ingredients are used.
- Chill: Cover the dish with plastic wrap, pressing it gently onto the pudding’s surface to prevent a skin from forming. Refrigerate for at least 4 hours, preferably overnight. This helps the wafers soften slightly but keep their crunch.
- Serve: Just before serving, top with a few whole vanilla wafers and optional whipped cream for an extra touch. (Tip: Serve chilled for the best texture and flavor.)
Pro tip: If your pudding seems too thick after chilling, a quick whisk before layering can loosen it up without losing creaminess. Also, slicing bananas right before layering keeps them fresh and prevents browning.
Cooking Tips & Techniques
Getting the perfect creamy banana pudding with crunchy vanilla wafers takes a little finesse, but here are some tips I’ve learned the hard way:
- Constant Stirring: The pudding base won’t wait for you to multitask. Stirring continuously prevents lumps and scorching on the pan bottom.
- Temper Eggs Slowly: Adding hot milk to eggs too quickly can scramble them. A slow drizzle with steady whisking keeps the texture silky.
- Banana Selection: Overripe bananas make the pudding too sweet and mushy; under-ripe ones taste bland. Find that perfect yellow with tiny brown spots stage.
- Layering Matters: Don’t just dump everything together. Layering wafers and bananas alternately ensures every bite has contrasting textures.
- Wafers Timing: Adding wafers too early can make them soggy; too late, and they stay hard. Chilling overnight hits that sweet spot where wafers are tender but retain crunch.
- Multitasking: While pudding thickens, prep your bananas and wafers so assembly is quick. This keeps the pudding warm enough to spread smoothly.
I once tried rushing the chilling stage—big mistake! The wafers stayed hard and clunky, which threw off the whole experience. Patience really pays off here.
Variations & Adaptations
Want to switch things up? Here are some ways to make this creamy banana pudding with crunchy vanilla wafers your own:
- Chocolate Banana Pudding: Stir in 1/4 cup cocoa powder with the dry ingredients for a chocolate twist. Top with chocolate wafer cookies instead of vanilla.
- Vegan Version: Use coconut or almond milk along with cornstarch instead of flour to thicken. Swap egg yolks for a vegan egg replacer or silken tofu blended smooth.
- Seasonal Fruit Swap: Replace bananas with peaches in summer or sliced pears in fall for a fresh seasonal flair.
- Crunch Upgrade: Add chopped toasted pecans or almonds between layers for extra texture and nutty flavor.
- Personal Favorite: I sometimes add a splash of rum or bourbon to the pudding base for a grown-up kick. It’s subtle but adds depth.
Each variation keeps the heart of the recipe but lets you tailor it to your taste, dietary needs, or what’s in season.
Serving & Storage Suggestions
This creamy banana pudding with crunchy vanilla wafers shines when served chilled. I like to scoop it into clear dessert glasses so you can see the beautiful layers—it’s almost too pretty to eat! Pair it with a cup of strong black coffee or a light herbal tea to balance the sweetness.
Leftovers store beautifully covered in the refrigerator for up to 3 days. The flavors actually meld even more after a day, making it tastier. Avoid freezing, as the pudding texture can get grainy and the wafers soggy.
When reheating (if you must!), warm it gently in the microwave for 20-30 seconds—not too long, or you’ll lose that creamy texture. Personally, I prefer it cold, but that’s just me.
Nutritional Information & Benefits
Per serving (about 1 cup):
| Calories | 280 |
|---|---|
| Fat | 8g |
| Carbohydrates | 45g |
| Protein | 5g |
| Sugar | 30g |
This recipe offers potassium and vitamin C from bananas, calcium and protein from milk, and a comforting dose of carbohydrates for energy. If you swap in almond milk and vegan substitutes, it can be dairy-free and lower in fat. It’s gluten-containing due to wafers but can be made gluten-free with specialty cookies.
From a wellness standpoint, I appreciate this dessert as a treat that feels indulgent but is made with real, familiar ingredients—no mystery powders or additives. It’s a sweet moment that doesn’t feel like guilt.
Conclusion
So, why try this creamy banana pudding with crunchy vanilla wafers? Because it’s the kind of dessert that feels like a warm hug after a long day. It’s approachable, satisfying, and customizable to suit your tastes and kitchen stash.
I love how it brings people together—whether it’s a spontaneous snack or the star of a casual gathering. Honestly, it’s a recipe you’ll find yourself returning to, tweaking here and there but always loving.
Give it a go, and don’t be shy about experimenting. I’d love to hear how you make it yours—drop a comment or share your favorite twist. Here’s to many creamy, crunchy moments ahead!
FAQs
Can I make this banana pudding ahead of time?
Absolutely! It actually tastes better after chilling for a few hours or overnight since the flavors meld and wafers soften just right.
What if I don’t have vanilla wafers?
You can substitute with any crunchy vanilla-flavored cookies or even graham crackers for a different texture and flavor.
How do I prevent the bananas from browning?
Slice them just before layering and cover the pudding tightly with plastic wrap pressed onto the surface to reduce air exposure.
Is it possible to make this recipe gluten-free?
Yes! Use gluten-free vanilla wafers or cookies and ensure your flour substitute is gluten-free, like rice or almond flour.
Can I freeze creamy banana pudding?
Freezing isn’t recommended as it can alter the pudding’s texture and make the wafers soggy when thawed.
Pin This Recipe!
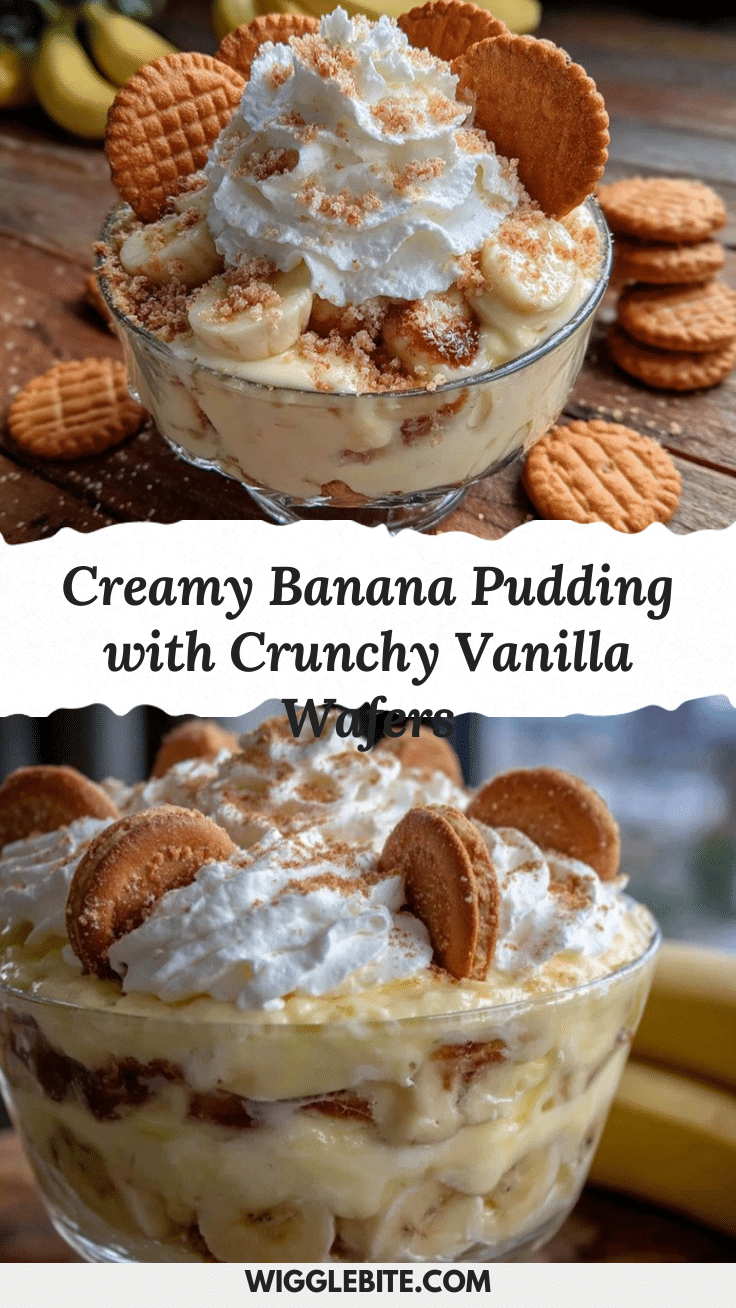
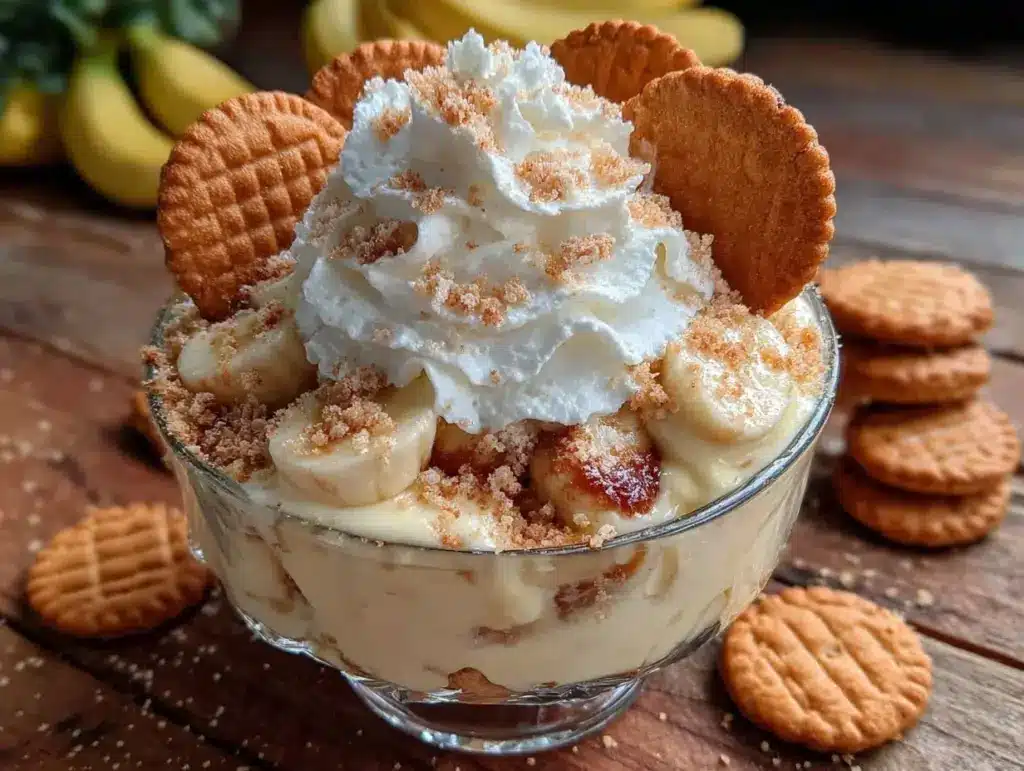
Creamy Banana Pudding with Crunchy Vanilla Wafers

A quick and easy homemade dessert featuring silky banana-flavored pudding layered with crunchy vanilla wafers, perfect for any occasion.
- Prep Time: 15 minutes
- Cook Time: 15 minutes
- Total Time: 4 hours 30 minutes
- Yield: 8 servings 1x
- Category: Dessert
- Cuisine: American
Ingredients
- 2/3 cup granulated sugar
- 1/4 cup all-purpose flour
- 1/4 teaspoon salt
- 3 cups whole milk
- 3 large egg yolks, lightly beaten
- 2 teaspoons pure vanilla extract
- 3 ripe bananas, sliced
- 2 tablespoons unsalted butter, cut into small pieces
- 1 package (about 12 oz) vanilla wafers
- Optional: whipped cream for garnish
Instructions
- In a medium saucepan, combine 2/3 cup sugar, 1/4 cup flour, and 1/4 teaspoon salt. Whisk together until evenly mixed.
- Slowly pour in 3 cups whole milk while whisking constantly to prevent clumps.
- Place the pan over medium heat, stirring constantly until the mixture thickens, about 5-7 minutes.
- In a separate bowl, lightly beat 3 egg yolks. Slowly whisk in about 1 cup of the hot milk mixture to temper the yolks.
- Pour the yolk mixture back into the saucepan while whisking vigorously.
- Continue cooking on medium heat for another 2-3 minutes until the pudding is thick and creamy.
- Remove from heat and stir in 2 tablespoons unsalted butter and 2 teaspoons vanilla extract until melted and combined.
- In a 9×9 inch baking dish, layer one-third of the vanilla wafers, half of the banana slices, and half of the pudding. Repeat layers until all ingredients are used.
- Cover the dish with plastic wrap pressed onto the pudding surface and refrigerate for at least 4 hours or overnight.
- Before serving, top with a few whole vanilla wafers and optional whipped cream. Serve chilled.
Notes
Constant stirring prevents lumps and scorching. Temper egg yolks slowly to avoid scrambling. Slice bananas just before layering to prevent browning. Chill pudding for at least 4 hours to soften wafers but retain crunch. If pudding is too thick after chilling, whisk gently before layering.
Nutrition
- Serving Size: About 1 cup
- Calories: 280
- Sugar: 30
- Fat: 8
- Carbohydrates: 45
- Protein: 5
Keywords: banana pudding, vanilla wafers, creamy dessert, easy dessert, homemade pudding, layered dessert