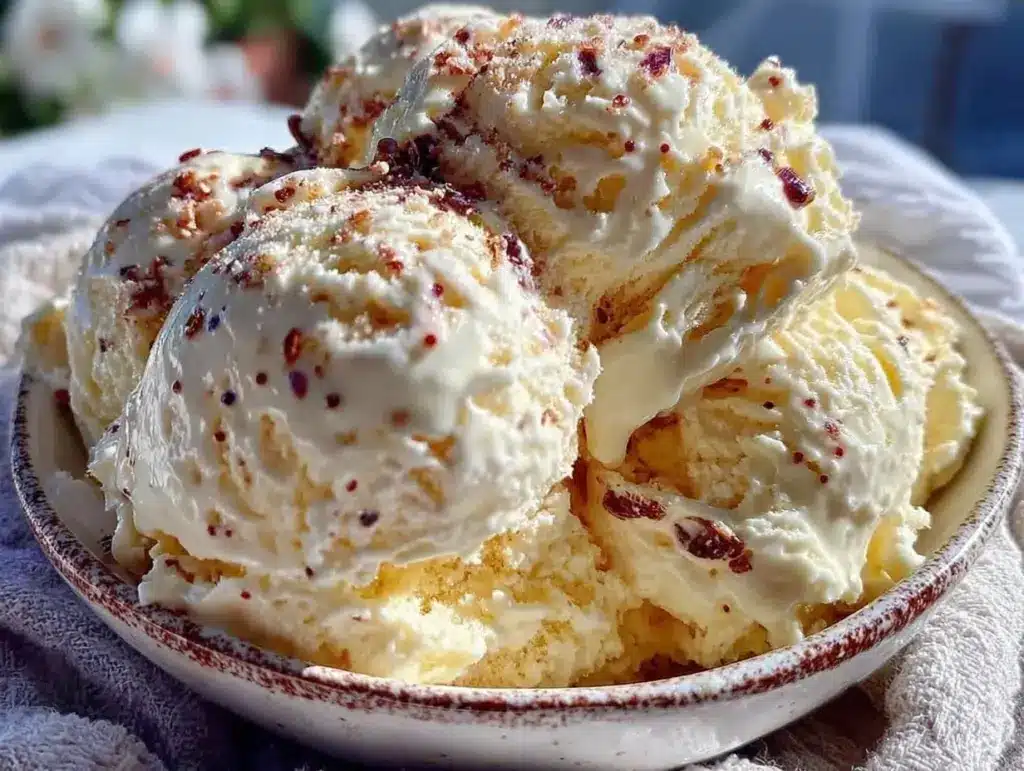
Let me tell you, the scent of rich vanilla beans mingling with sweet cream as it slowly churns in the ice cream maker is enough to make anyone’s mouth water. The first time I made this creamy homemade vanilla ice cream recipe, I was instantly hooked—the kind of moment where you pause, take a deep breath, and just smile because you know you’re onto something truly special. Years ago, when I was knee-high to a grasshopper, my grandma would make her own ice cream with a hand-cranked machine on hot summer afternoons. I thought nothing could top that nostalgic experience until I stumbled upon this dangerously easy recipe.
You know what? My family couldn’t stop sneaking spoonfuls off the cooling tray (and I can’t really blame them). Honestly, this vanilla ice cream brings pure, nostalgic comfort with minimal fuss. It’s perfect for summer barbecues, sweet treats for your kids after a long day, or just brightening up your Pinterest cookie board with a scoop of homemade goodness. After testing this recipe multiple times—in the name of research, of course—it’s become a staple for family gatherings and gifting (because who doesn’t want a jar of love in frozen form?). If you haven’t made ice cream from scratch before, this recipe feels like a warm hug that you’ll want to bookmark immediately.
Why You’ll Love This Recipe
With years of kitchen trials behind me, I can say this creamy homemade vanilla ice cream recipe is a winner for so many reasons. It’s not just a simple dessert; it’s a little celebration of summer in every bite. Here’s why it stands out:
- Quick & Easy: Comes together in under 30 minutes of active time, perfect for busy weeknights or last-minute dessert cravings.
- Simple Ingredients: You likely already have everything in your pantry and fridge—no fancy trips needed.
- Perfect for Summer: Ideal for barbecues, pool parties, or a refreshing end to a hot day.
- Crowd-Pleaser: Always gets rave reviews from kids and adults alike, no matter the occasion.
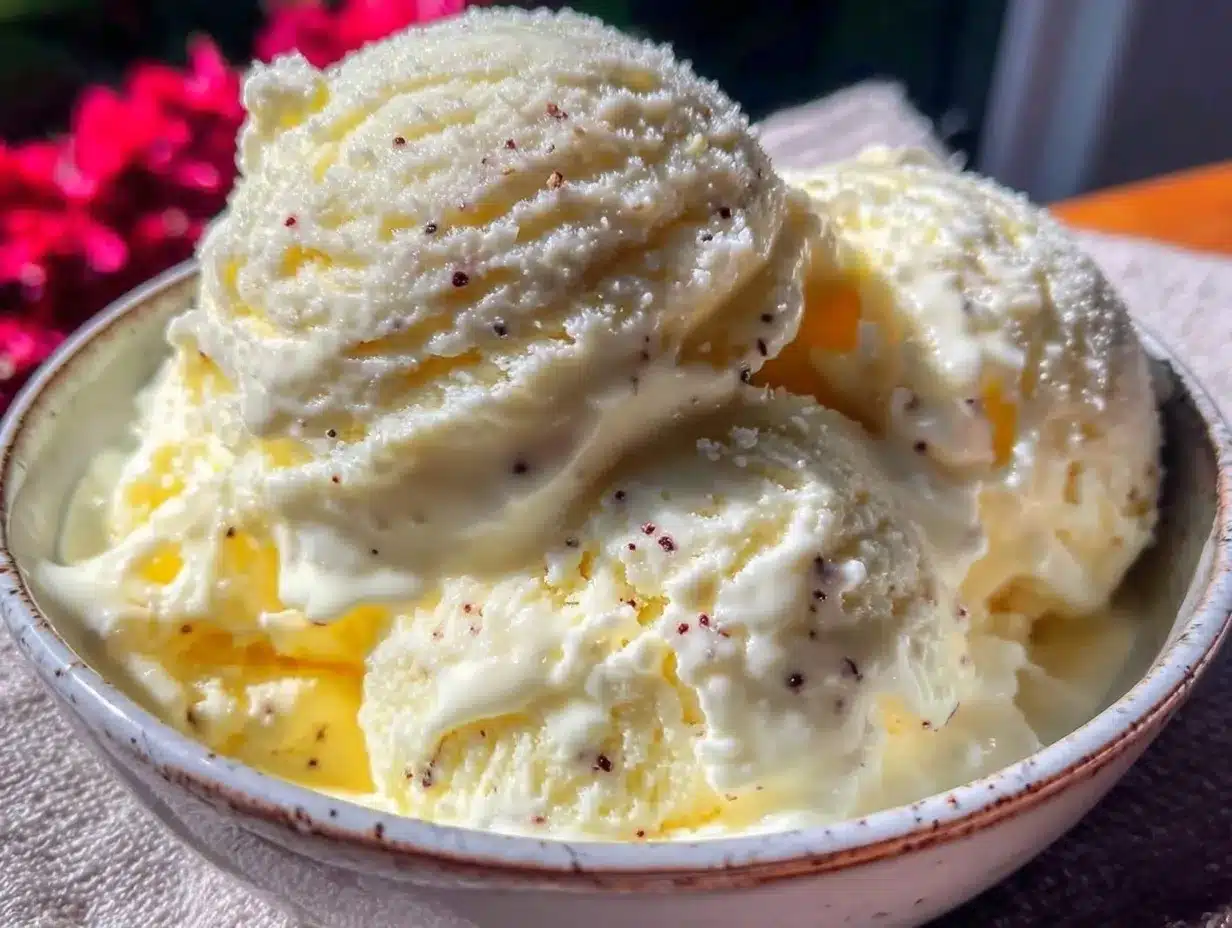
- Unbelievably Delicious: The texture is ultra-smooth and creamy, with a perfectly balanced vanilla flavor that feels like a hug in every scoop.
This recipe isn’t just another vanilla ice cream—it’s the best version I’ve found because it uses real vanilla bean and heavy cream for that luscious mouthfeel. Plus, the little trick of steeping the vanilla in warm milk unlocks a deeper, richer flavor you won’t get from extracts alone. Honestly, it’s comfort food reimagined—healthier, faster, but with the same soul-soothing satisfaction. Whether you want to impress guests without stress or just treat yourself, this recipe’s got you covered.
What Ingredients You Will Need
This creamy homemade vanilla ice cream recipe uses simple, wholesome ingredients to deliver bold flavor and that satisfying texture without the fuss. Most of these are pantry and fridge staples, so no need to run to specialty stores.
- Whole milk (2 cups / 480 ml) – the canvas for our creamy base.
- Heavy cream (2 cups / 480 ml) – adds richness and that dreamy smooth texture. I personally prefer brands like Organic Valley for consistency.
- Granulated sugar (¾ cup / 150 g) – balances sweetness just right without overpowering.
- Vanilla bean (1 large) – split and scraped for pure, aromatic vanilla flavor. If you can’t find beans, high-quality vanilla extract (1 tbsp) works in a pinch, but the bean is where the magic happens.
- Salt (a pinch) – enhances all the sweet flavors in the mix.
Ingredient tips: Use full-fat dairy for the creamiest results (don’t skimp here). If you’re dairy-free, swap heavy cream and milk with canned coconut milk (full fat) and coconut cream—though texture will vary.
Equipment Needed
- Ice cream maker: Essential for that smooth, churned texture. I’ve used both electric and manual models; electric is definitely easier if you’re short on time.
- Mixing bowls: For combining ingredients.
- Whisk: To mix sugar and milk evenly.
- Measuring cups and spoons: Precision really matters here.
- Fine mesh sieve or strainer: Optional but helpful for removing vanilla bean bits if you prefer a silky texture.
If you don’t have an ice cream maker, no worries—you can freeze the mixture in a shallow container and stir every 30 minutes until firm. It takes longer but still tastes amazing. Also, make sure to clean and maintain your ice cream maker as per instructions to avoid any funky flavors—nothing worse than a stale batch.
Preparation Method
- Prepare the vanilla: Slice the vanilla bean lengthwise with a sharp knife. Scrape out the tiny seeds using the back of the knife. Set both seeds and pod aside.
- Heat the milk: In a medium saucepan, combine the whole milk, half the sugar (⅜ cup / 75 g), vanilla seeds, and the split pod. Warm over medium heat until just about to simmer—around 170°F (77°C). This takes about 5–7 minutes. Stir occasionally to dissolve sugar and release vanilla aroma. Don’t let it boil!
- Infuse and cool: Remove from heat and let the vanilla steep in the warm milk for 30 minutes. This step unlocks deep vanilla flavor.
- Mix cream and sugar: In a separate bowl, whisk together the heavy cream, remaining sugar, and a pinch of salt until sugar is mostly dissolved.
- Combine mixtures: Remove the vanilla pod from the milk. Slowly whisk the warm milk into the cream mixture. The combined mixture should be smooth and slightly warm.
- Chill: Cover the mixture and refrigerate for at least 4 hours or overnight. This chilling step is crucial for smooth ice cream!
- Churn: Pour the chilled mixture into your ice cream maker. Follow your machine’s instructions; usually, it takes 20–25 minutes to reach soft-serve consistency.
- Freeze to firm up: Transfer the ice cream to an airtight container. Freeze for 2–4 hours to firm up before serving.
Pro tip: If your ice cream is icy or grainy, it probably didn’t chill enough before churning. Patience here pays off big time.
Cooking Tips & Techniques
When making creamy homemade vanilla ice cream, timing and temperature are everything. Honestly, the secret lies in the chilling steps—both before and after churning. I’ve learned from experience (and a few failed batches) that rushing this part leads to icy textures, and nobody wants that.
Use full-fat dairy—trust me, it’s worth it for that rich mouthfeel. Also, steeping the vanilla bean in warm milk for at least 30 minutes really brings out the aroma and flavor. You don’t want to skip this step or substitute with just vanilla extract; it’s a game changer.
Don’t overfill your ice cream maker bowl—it needs room to churn and aerate the mixture properly. And if you’re new to ice cream making, keep an eye on the texture during churning. It should get thicker and almost fluffy before you stop the machine.
Lastly, when freezing your churned ice cream, cover the surface with parchment or plastic wrap before sealing the container. This prevents ice crystals from forming on top. I learned this the hard way after a few freezer burns!
Variations & Adaptations
- Dairy-Free Version: Use full-fat canned coconut milk and coconut cream instead of dairy. The ice cream will have a subtle coconut flavor but still creamy and satisfying.
- Vanilla Bean & Honey: Swap half the sugar for local honey for a floral sweetness. Honey also helps keep the texture smooth.
- Salted Caramel Vanilla: Add a swirl of homemade salted caramel sauce after churning for a mouthwatering twist. You can fold it in gently before freezing.
If you want to get creative, try adding mix-ins like chopped toasted nuts, chocolate chips, or fresh berries in the last few minutes of churning. Just remember that chunky add-ins can affect texture, so add them sparingly.
Serving & Storage Suggestions
This creamy homemade vanilla ice cream is best served slightly softened—about 5 minutes out of the freezer—so it melts gently on your tongue. Serve it solo in pretty bowls or as a perfect partner to warm pies, berry crisps, or chocolate brownies. For an adult twist, drizzle with a little bourbon or coffee liqueur.
Store leftover ice cream in an airtight container in the freezer for up to 2 weeks. If it gets too hard, let it sit at room temperature for 10 minutes before scooping. Flavors actually deepen after a day or two, so if you can wait, you’re in for a treat.
Nutritional Information & Benefits
One serving (about ½ cup or 125 ml) of this creamy homemade vanilla ice cream contains roughly 250 calories, 16 grams of fat, 20 grams of carbohydrates, and 3 grams of protein. The high-fat content comes mainly from heavy cream, providing satisfying richness.
The vanilla bean offers small amounts of antioxidants and is a natural flavor source without artificial additives. Using real ingredients means you avoid the preservatives and stabilizers common in store-bought ice cream.
This recipe is gluten-free, contains dairy (not suitable for lactose intolerant without substitutions), and can be adapted for dairy-free diets. It’s a treat that balances indulgence with simple, wholesome ingredients.
Conclusion
If you’re looking for a creamy homemade vanilla ice cream recipe that’s easy, delicious, and sure to impress, this one hits the mark. It’s simple enough for a weeknight treat yet special enough for celebrations. Plus, the real vanilla bean and rich cream make every scoop feel like a little moment of joy.
Feel free to customize it with your favorite add-ins or twists—this recipe is forgiving and flexible. Honestly, I love how it brings back those nostalgic summer vibes with zero hassle. Now, go on and make a batch—you’re going to want to share your experience, so don’t forget to leave a comment or tag me when you try it!
Frequently Asked Questions
Can I make this vanilla ice cream without an ice cream maker?
Yes! Freeze the mixture in a shallow container and stir every 30 minutes for about 3–4 hours to break up ice crystals. It won’t be as smooth but still delicious.
How long can I store homemade ice cream in the freezer?
Up to 2 weeks in an airtight container for best taste and texture. After that, it may develop ice crystals.
Can I use vanilla extract instead of vanilla beans?
You can substitute 1 tablespoon of pure vanilla extract, but the flavor won’t be as rich or aromatic as with the vanilla bean.
Is it possible to make this recipe dairy-free?
Absolutely! Use full-fat canned coconut milk and coconut cream instead of dairy. The texture will be slightly different but still creamy.
Why is my homemade ice cream icy or grainy?
This usually happens if the mixture wasn’t chilled enough before churning or if it wasn’t churned long enough. Make sure to chill the base thoroughly and follow your ice cream maker’s timing.
Pin This Recipe!
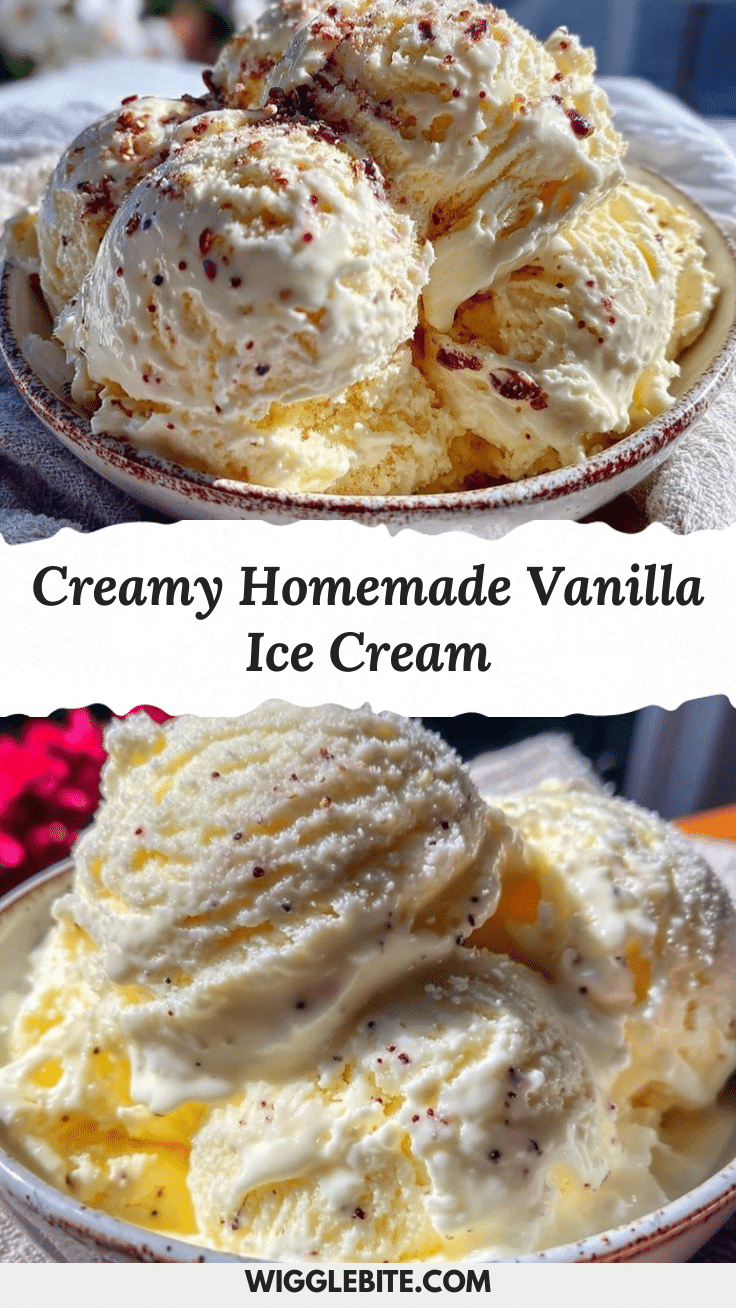
Creamy Homemade Vanilla Ice Cream

A rich and creamy homemade vanilla ice cream recipe using real vanilla bean and heavy cream, perfect for summer and easy to make with just 5 ingredients.
- Prep Time: 10 minutes
- Cook Time: 7 minutes
- Total Time: 5 hours 40 minutes
- Yield: 8 servings 1x
- Category: Dessert
- Cuisine: American
Ingredients
- 2 cups whole milk (480 ml)
- 2 cups heavy cream (480 ml)
- 3/4 cup granulated sugar (150 g)
- 1 large vanilla bean, split and scraped
- Pinch of salt
Instructions
- Slice the vanilla bean lengthwise with a sharp knife. Scrape out the tiny seeds using the back of the knife. Set both seeds and pod aside.
- In a medium saucepan, combine the whole milk, half the sugar (3/8 cup / 75 g), vanilla seeds, and the split pod. Warm over medium heat until just about to simmer (around 170°F / 77°C), stirring occasionally to dissolve sugar and release vanilla aroma. Do not let it boil.
- Remove from heat and let the vanilla steep in the warm milk for 30 minutes.
- In a separate bowl, whisk together the heavy cream, remaining sugar, and a pinch of salt until sugar is mostly dissolved.
- Remove the vanilla pod from the milk. Slowly whisk the warm milk into the cream mixture until smooth and slightly warm.
- Cover the mixture and refrigerate for at least 4 hours or overnight.
- Pour the chilled mixture into your ice cream maker and churn according to the manufacturer’s instructions, usually 20–25 minutes until soft-serve consistency.
- Transfer the ice cream to an airtight container and freeze for 2–4 hours to firm up before serving.
Notes
Use full-fat dairy for the creamiest results. Steeping the vanilla bean in warm milk for 30 minutes unlocks deeper flavor. Chill the mixture thoroughly before churning to avoid icy texture. Cover the surface with parchment or plastic wrap before freezing to prevent ice crystals. If no ice cream maker is available, freeze in a shallow container and stir every 30 minutes for 3–4 hours.
Nutrition
- Serving Size: 1/2 cup (125 ml)
- Calories: 250
- Fat: 16
- Carbohydrates: 20
- Protein: 3
Keywords: vanilla ice cream, homemade ice cream, creamy ice cream, summer dessert, easy ice cream recipe, vanilla bean ice cream