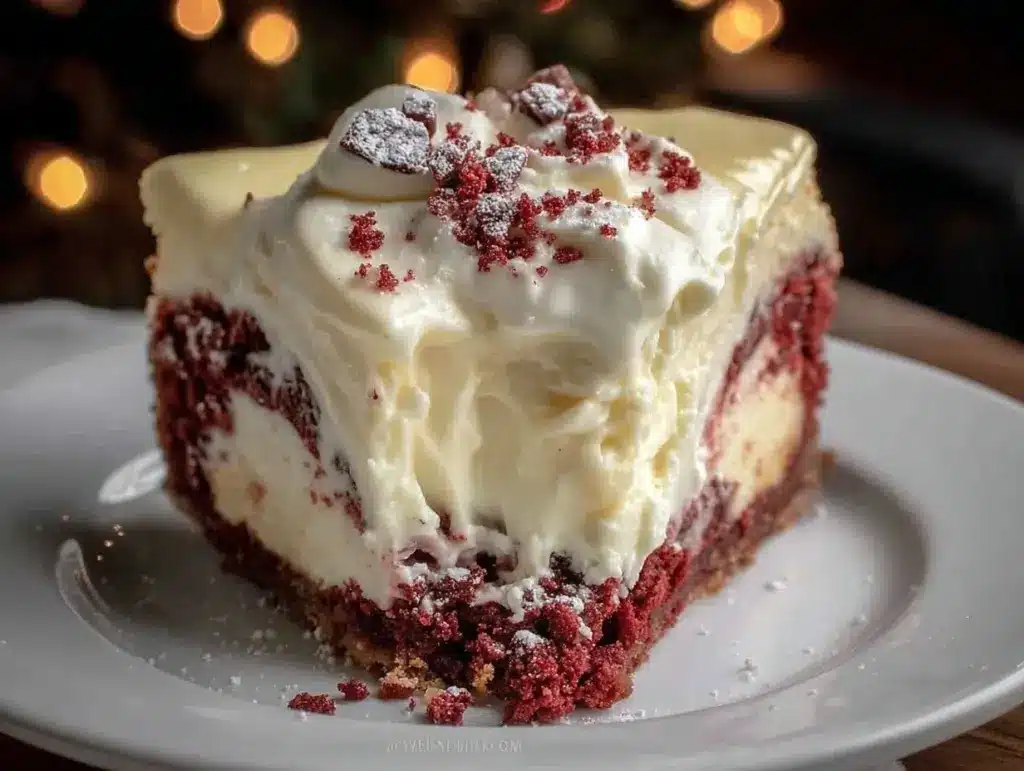
Let me tell you, the moment the rich aroma of cocoa and vanilla mingled with the tangy scent of cream cheese filled my kitchen, I knew this Decadent Red Velvet Cheesecake with Cream Cheese Frosting was something truly special. The first time I baked this luscious dessert was during a chilly weekend when I was knee-high to a grasshopper about a decade ago, and honestly, it felt like a sweet little secret waiting to be shared. There’s this magical pause — the kind where you close your eyes, take a deep breath, and just smile because you realize you’re onto a flavor that’s both nostalgic and downright irresistible.
This cheesecake has been a staple at my family’s gatherings ever since. My relatives couldn’t stop sneaking bites off the cooling rack (and who could blame them?). Let’s face it, when you have a dessert that’s dangerously easy to make and offers that pure, nostalgic comfort of classic red velvet paired with a silky, creamy frosting, it’s bound to brighten up any occasion. Whether it’s a cozy dinner party, a birthday celebration, or a sweet treat for your kids, this red velvet cheesecake recipe has you covered.
You know what? I’ve tested this recipe more times than I can count — in the name of research, of course — and it’s become my go-to for gifting and impressing friends without breaking a sweat. You’re going to want to bookmark this one for your upcoming potlucks or holiday celebrations!
Why You’ll Love This Recipe
This red velvet cheesecake recipe isn’t just another dessert; it’s a lovingly crafted treat that combines the best of two worlds. Here’s why it’ll quickly become your new favorite:
- Quick & Easy: You can whip this up in under two hours, perfect for busy weeknights or last-minute celebrations.
- Simple Ingredients: No need to hunt down fancy items—most of these are pantry staples you probably already have.
- Perfect for Any Occasion: From birthdays to cozy date nights, this cheesecake fits the bill.
- Crowd-Pleaser: Kids, adults, and even picky eaters rave about the creamy texture and balanced flavors.
- Unbelievably Delicious: The smooth cream cheese frosting paired with the tender red velvet base is pure comfort food.
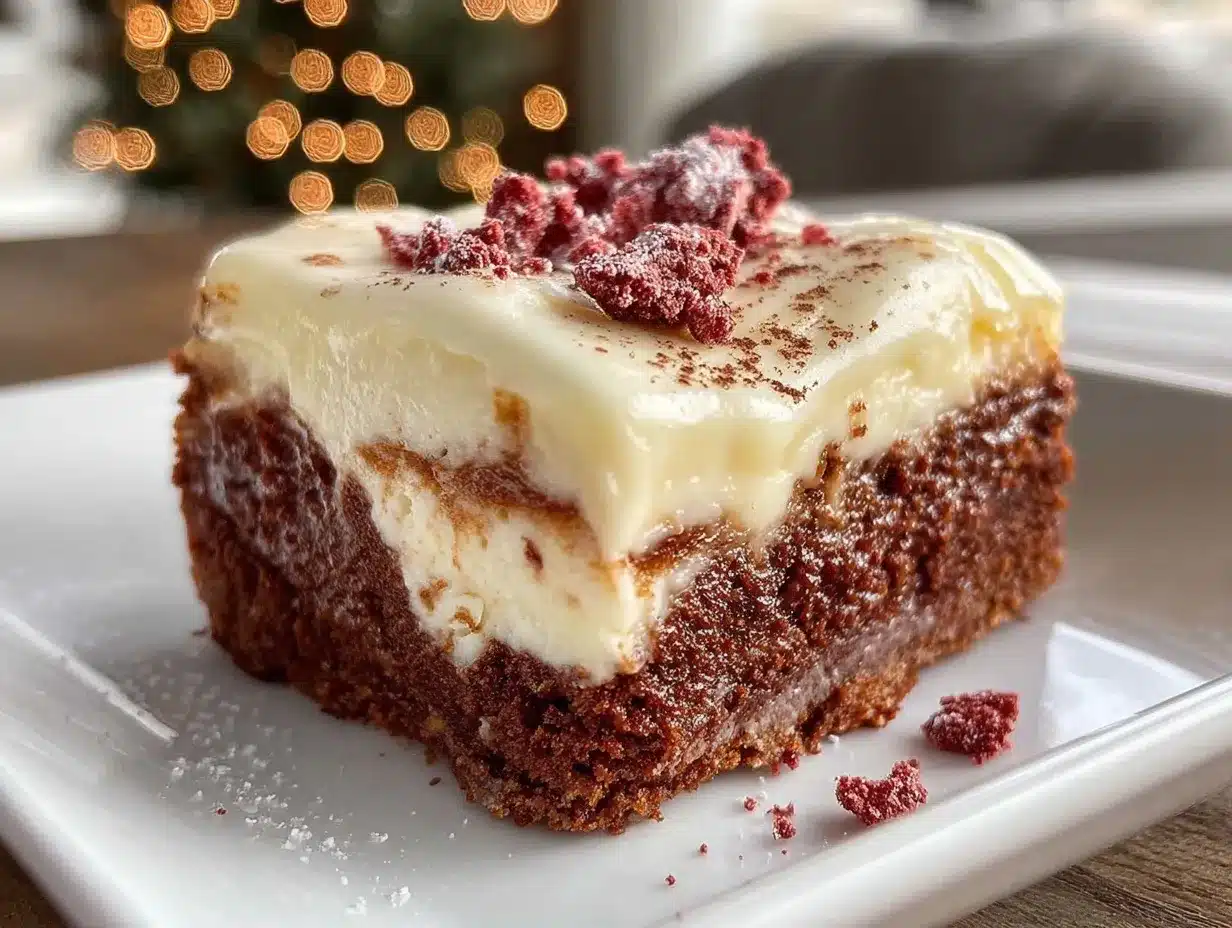
What sets this recipe apart? It’s all in the technique — I blend the cream cheese frosting to ultra-smooth perfection, ensuring it’s neither too sweet nor too tangy. Plus, the red velvet layer is moist and tender, thanks to a perfect balance of cocoa and buttermilk. Honestly, this isn’t just a cheesecake; it’s the kind of dessert that makes you close your eyes after the first bite and say, “Yep, this is it.” It’s comfort food reimagined—fast, flavorful, and with that soul-soothing satisfaction we all crave.
What Ingredients You Will Need
This recipe uses simple, wholesome ingredients to deliver bold flavor and satisfying texture without any fuss. Most of these are kitchen classics, but I’ve included some notes to help you pick the best versions.
- For the Cheesecake Base:
- 1 1/2 cups graham cracker crumbs (I prefer Nabisco for the right crunch)
- 1/4 cup unsalted butter, melted (adds richness and binds crumbs)
- 2 tablespoons granulated sugar (balances flavor)
- For the Red Velvet Layer:
- 3 (8 oz) packages cream cheese, softened (Philadelphia brand gives the creamiest texture)
- 1 cup granulated sugar
- 3 large eggs, room temperature (helps with smooth batter)
- 2 tablespoons unsweetened cocoa powder (use Dutch-processed for richer color)
- 2 teaspoons pure vanilla extract
- 1 cup buttermilk, room temperature (if you don’t have buttermilk, mix 1 cup milk + 1 tablespoon vinegar, let sit 5 minutes)
- 2 tablespoons red food coloring (liquid or gel works fine; gel gives deeper color)
- 1/2 teaspoon salt
- 1 teaspoon white vinegar (helps with the tang and color)
- 1 teaspoon baking soda
- For the Cream Cheese Frosting:
- 8 oz cream cheese, softened
- 1/2 cup unsalted butter, softened
- 3 cups powdered sugar, sifted (helps with smooth frosting)
- 1 teaspoon pure vanilla extract
Feel free to swap in almond flour for the crust if you want a gluten-free option, and if dairy’s a concern, coconut cream cheese and vegan butter work nicely for the frosting. In summer, I sometimes add fresh berries on top for a bright twist!
Equipment Needed
- 9-inch (23 cm) springform pan — essential for easy cheesecake removal. If you don’t have one, a regular cake pan lined with parchment will work, but be extra careful when removing.
- Electric mixer or stand mixer — for smooth, lump-free batter and frosting. Hand mixers can do the job but may take longer.
- Mixing bowls — at least two, for separate components.
- Measuring cups and spoons — precision is key in baking!
- Rubber spatula — perfect for scraping down sides without wasting batter.
- Wire rack — for cooling the cheesecake evenly.
- Optional: Food processor — handy if you want to make your own graham cracker crumbs.
Pro tip: I keep my springform pan well-greased and wrapped in foil on the outside to prevent water bath leaks (cheesecakes love a water bath!). If you’re on a budget, glass pie dishes are a decent alternative, but the classic springform pan is worth the investment.
Preparation Method
- Prepare the crust (10 minutes): Preheat the oven to 350°F (175°C). In a medium bowl, mix 1 1/2 cups graham cracker crumbs, 1/4 cup melted butter, and 2 tablespoons sugar until the crumbs are evenly coated. Press this mixture firmly into the bottom of your 9-inch springform pan. Use the back of a spoon or a flat-bottomed glass to make it compact. Bake for 8 minutes, then let it cool while you prepare the filling.
- Make the red velvet cheesecake batter (20 minutes): In your mixer bowl, beat the softened cream cheese (3 packages) until smooth and creamy, about 2-3 minutes. Gradually add 1 cup sugar and continue beating until well combined. Add eggs one at a time, mixing just until incorporated — overmixing can cause cracks later. In a small bowl, sift together cocoa powder, salt, and baking soda. Add the cocoa mix, vanilla extract, buttermilk, red food coloring, and white vinegar to the cream cheese mixture. Beat on low speed until everything is evenly combined and the batter looks luscious and red.
- Assemble and bake (1 hour 15 minutes): Pour the red velvet batter over the cooled crust and smooth the top with a spatula. Place the pan in a larger roasting pan and carefully fill the roasting pan with hot water until it reaches halfway up the sides of the springform pan — this water bath prevents cracks. Bake at 350°F (175°C) for about 60-75 minutes. The edges should be set, but the center will still jiggle slightly.
- Cool the cheesecake (4 hours): Turn off the oven and crack the door open. Let the cheesecake cool inside the oven for 1 hour to avoid sudden temperature changes. Then, remove it and let it cool completely at room temperature. Refrigerate for at least 3 hours, preferably overnight, to let the flavors develop and the texture set.
- Prepare the cream cheese frosting (10 minutes): Beat 8 oz cream cheese and 1/2 cup butter together until creamy and light. Gradually add 3 cups powdered sugar and 1 teaspoon vanilla extract, beating until smooth and fluffy. Adjust sweetness to taste.
- Frost and serve (15 minutes): Once the cheesecake is fully chilled, carefully release it from the springform pan onto your serving plate. Spread the cream cheese frosting evenly on top. For a polished look, use a spatula or piping bag. Refrigerate until ready to serve.
If you notice any cracks after baking, don’t worry — a thick layer of frosting will cover them up beautifully. And if the batter seems a bit thick, gently fold in a tablespoon or two of buttermilk to loosen it up.
Cooking Tips & Techniques
Cheesecakes can be a little tricky, but here are some tips I’ve picked up the hard way:
- Room Temperature Ingredients: This is key! Cold cream cheese or eggs can cause lumps or uneven texture. Give yourself time to let them soften.
- Don’t Overmix: Once you add the eggs, mix just until combined to avoid too much air in the batter. Air pockets lead to cracks.
- Water Bath: This moist heat helps the cheesecake cook evenly and stay creamy. Wrap the pan’s bottom in foil to keep water from seeping in.
- Slow Cooling: Sudden temperature changes cause cracks. Let the cake cool gradually — I swear by the “oven door ajar” method.
- Use a Good Mixer: A stand mixer with paddle attachment gives the best texture, but a hand mixer works if you’re patient.
- Multitask: Start your frosting while the cheesecake bakes or cools. It’s a great time saver and keeps things moving.
Variations & Adaptations
Want to mix things up? Here are a few variations I’ve tried and loved:
- Chocolate Swirl Red Velvet: Before baking, swirl in melted dark chocolate into the red velvet batter for a marbled effect and extra richness.
- Gluten-Free Version: Swap the graham cracker crust for a crust made from almond flour or gluten-free cookie crumbs.
- Vegan Adaptation: Use vegan cream cheese and butter alternatives, flax eggs (1 tablespoon flaxseed meal + 3 tablespoons water per egg), and coconut milk instead of buttermilk.
- Seasonal Twist: Add fresh raspberries or strawberries on top of the frosting during summer for a fruity pop.
- Spiced Red Velvet: Add a teaspoon of cinnamon or pumpkin pie spice to the batter for a cozy fall vibe.
Personally, I once tried swapping the classic cream cheese frosting with a mascarpone and whipped cream blend — it was lighter but still decadently creamy. Give it a shot if you want to impress your guests with something a bit different!
Serving & Storage Suggestions
This red velvet cheesecake shines best served chilled or at room temperature. If you’re serving it right away, let it sit out for about 20 minutes to soften the frosting slightly—it makes every bite melt in your mouth.
Pair it with a strong cup of coffee or a glass of cold milk to balance the richness. For parties, garnish with fresh berries, chocolate shavings, or a dusting of cocoa powder for that extra wow factor.
Store leftover cheesecake covered tightly with plastic wrap or in an airtight container in the refrigerator for up to 5 days. You can also freeze slices wrapped individually in plastic and foil for up to 2 months. When reheating frozen slices, thaw overnight in the fridge and bring to room temp before serving.
Fun fact: the flavors often deepen and become more harmonious after a day or two, so don’t hesitate to make it ahead of time for your big event!
Nutritional Information & Benefits
One slice (1/12th of the cheesecake) roughly contains:
| Calories | Fat | Carbohydrates | Protein | Sugar |
|---|---|---|---|---|
| 420 kcal | 32 g | 28 g | 7 g | 20 g |
While this cheesecake is definitely a treat, it also includes beneficial ingredients like cream cheese, which provides calcium and protein. Cocoa powder adds antioxidants, and buttermilk offers probiotics that are good for digestion. If you opt for a gluten-free crust or dairy-free alternatives, you can tailor this dessert to fit various dietary preferences.
For those watching sugar intake, consider reducing the powdered sugar slightly in the frosting or using a sugar substitute (though it may affect texture a bit). Overall, this red velvet cheesecake feels indulgent but isn’t overly heavy when enjoyed in moderation.
Conclusion
This Decadent Red Velvet Cheesecake with Cream Cheese Frosting is truly a recipe worth trying if you want a dessert that’s both show-stopping and surprisingly easy. I love how it combines classic red velvet flavors with that rich, creamy cheesecake texture — it’s honestly a crowd-pleaser every single time. Plus, the smooth cream cheese frosting ties it all together like a perfect little bow.
Feel free to customize it to your liking, whether that’s adding a swirl of chocolate, switching up the crust, or trying a vegan version. I’d love to hear how you make it your own! Don’t forget to drop a comment, share your photos, or let me know if you have any tweaks that worked for you.
Thanks for stopping by — happy baking, and may your kitchen always smell like pure, delicious happiness!
FAQs
How do I prevent cracks in my cheesecake?
Use room temperature ingredients, avoid overmixing once eggs are added, bake in a water bath, and cool the cheesecake slowly by leaving the oven door slightly open after baking.
Can I make this cheesecake ahead of time?
Absolutely! It tastes even better the next day. Bake and frost it a day ahead, then refrigerate until serving.
What can I use instead of buttermilk?
If you don’t have buttermilk, mix 1 cup of milk with 1 tablespoon of vinegar or lemon juice, let it sit for 5 minutes, and use as a buttermilk substitute.
Is it possible to freeze this cheesecake?
Yes, wrap slices tightly in plastic wrap and foil, then freeze for up to 2 months. Thaw overnight in the fridge before serving.
Can I make this recipe dairy-free?
Yes! Swap cream cheese and butter for dairy-free alternatives like vegan cream cheese and margarine. Use coconut or almond milk in place of buttermilk.
Pin This Recipe!
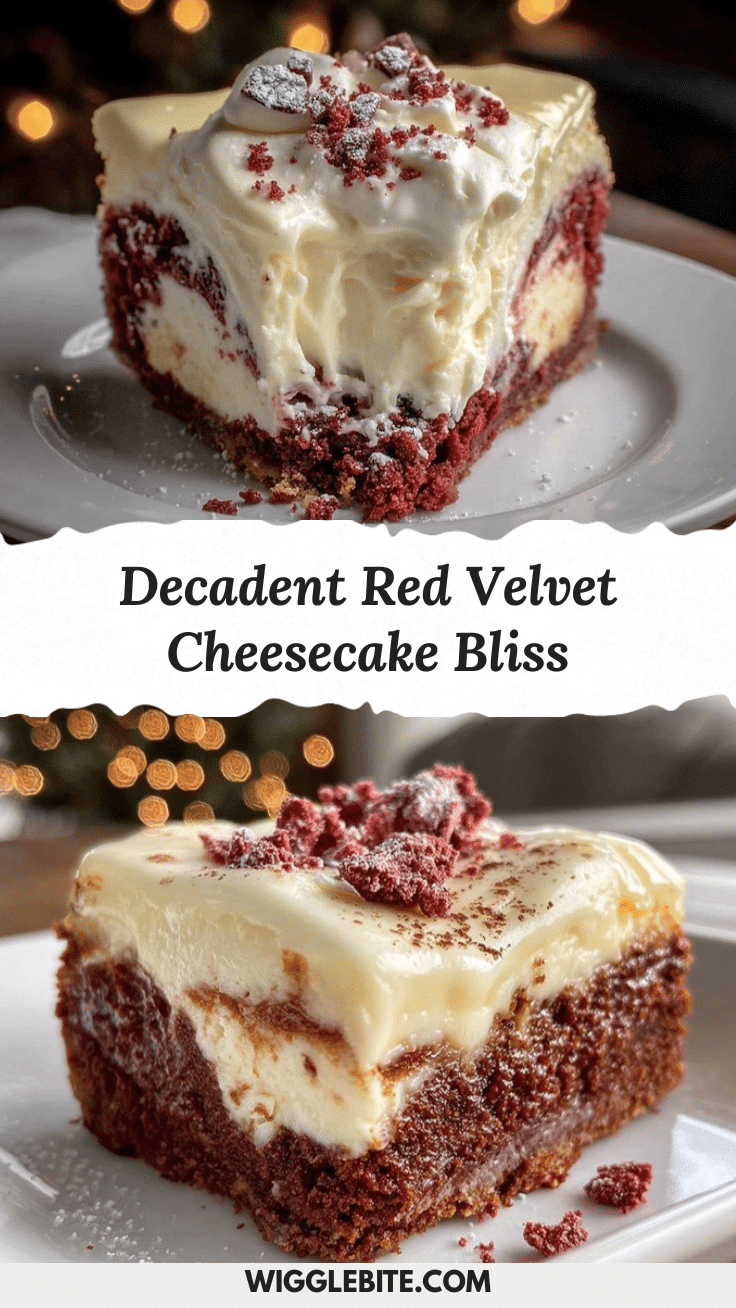
Red Velvet Cheesecake with Cream Cheese Frosting

A decadent and easy-to-make red velvet cheesecake topped with ultra-smooth cream cheese frosting, perfect for any occasion and crowd-pleasing.
- Prep Time: 30 minutes
- Cook Time: 1 hour 15 minutes
- Total Time: 5 hours 0 minutes
- Yield: 12 servings 1x
- Category: Dessert
- Cuisine: American
Ingredients
- 1 1/2 cups graham cracker crumbs
- 1/4 cup unsalted butter, melted
- 2 tablespoons granulated sugar
- 3 (8 oz) packages cream cheese, softened
- 1 cup granulated sugar
- 3 large eggs, room temperature
- 2 tablespoons unsweetened cocoa powder
- 2 teaspoons pure vanilla extract
- 1 cup buttermilk, room temperature (or 1 cup milk + 1 tablespoon vinegar, let sit 5 minutes)
- 2 tablespoons red food coloring (liquid or gel)
- 1/2 teaspoon salt
- 1 teaspoon white vinegar
- 1 teaspoon baking soda
- 8 oz cream cheese, softened (for frosting)
- 1/2 cup unsalted butter, softened (for frosting)
- 3 cups powdered sugar, sifted (for frosting)
- 1 teaspoon pure vanilla extract (for frosting)
Instructions
- Preheat oven to 350°F (175°C). Mix graham cracker crumbs, melted butter, and sugar until coated. Press firmly into bottom of 9-inch springform pan. Bake 8 minutes and cool.
- Beat softened cream cheese (3 packages) until smooth. Gradually add 1 cup sugar and beat well. Add eggs one at a time, mixing just until combined.
- Sift cocoa powder, salt, and baking soda. Add to cream cheese mixture along with vanilla, buttermilk, red food coloring, and white vinegar. Beat on low until combined and batter is red and smooth.
- Pour batter over cooled crust. Place springform pan in larger roasting pan and fill roasting pan with hot water halfway up sides of springform pan.
- Bake at 350°F (175°C) for 60-75 minutes until edges are set and center jiggles slightly.
- Turn off oven, crack door open, and cool cheesecake inside oven for 1 hour. Remove and cool completely at room temperature. Refrigerate at least 3 hours or overnight.
- Beat 8 oz cream cheese and 1/2 cup butter until creamy. Gradually add powdered sugar and vanilla, beating until smooth and fluffy.
- Release cheesecake from pan and spread frosting evenly on top. Refrigerate until ready to serve.
Notes
Use room temperature ingredients to avoid lumps. Avoid overmixing after adding eggs to prevent cracks. Bake in a water bath and cool slowly with oven door ajar to maintain creamy texture. Frosting covers any cracks. For gluten-free, swap crust with almond flour. For dairy-free, use vegan cream cheese and butter alternatives.
Nutrition
- Serving Size: 1 slice (1/12th of c
- Calories: 420
- Sugar: 20
- Fat: 32
- Carbohydrates: 28
- Protein: 7
Keywords: red velvet cheesecake, cream cheese frosting, easy cheesecake recipe, homemade cheesecake, dessert, holiday dessert, crowd-pleaser